 |


|
#121
 10-28-2017, 07:19 PM
|
||||
|
||||
|
Worked on the e-Panel bracket some yesterday, tomorrow I'll break away and get the special bolts and spacers I wanted so I can take the time to mount it up finally this weekend and start the next part of it..
EDIT: That didnt happen because I got an invite to the local Pick-A-Part and found a little gem(s)... See dbl post below 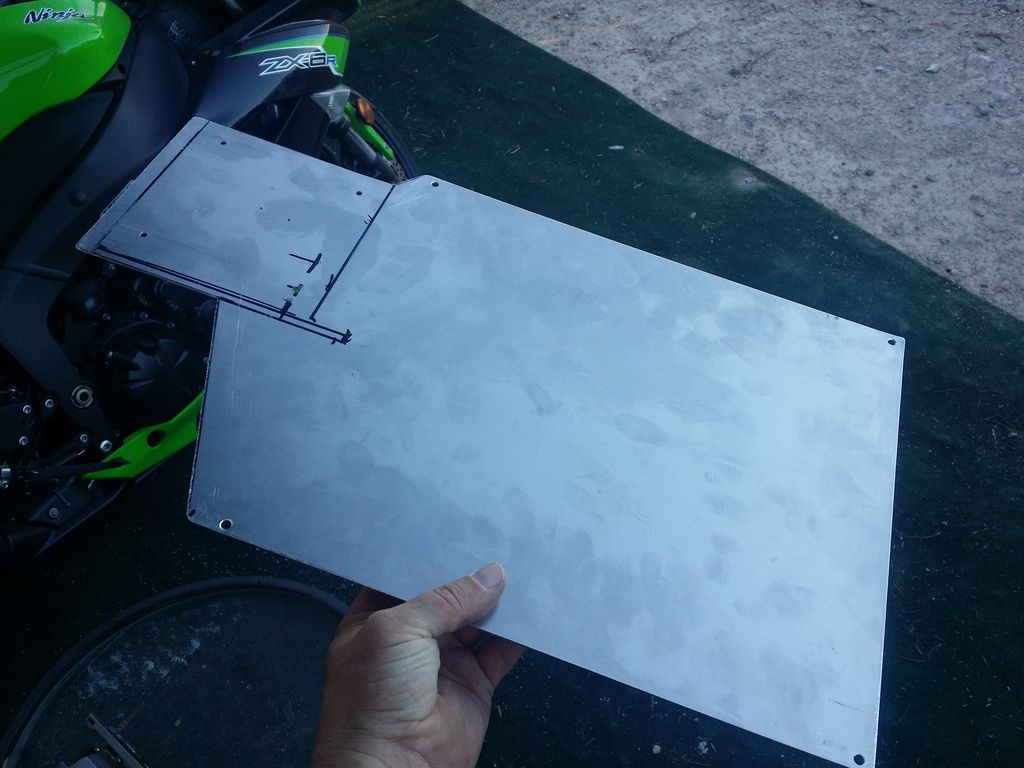 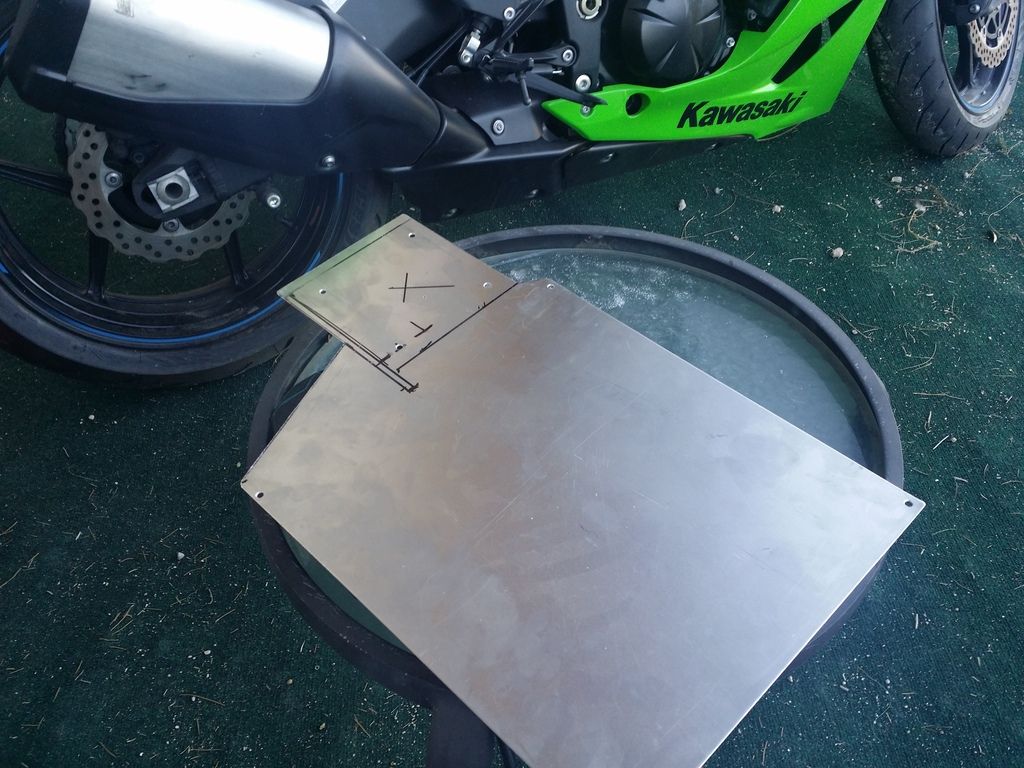 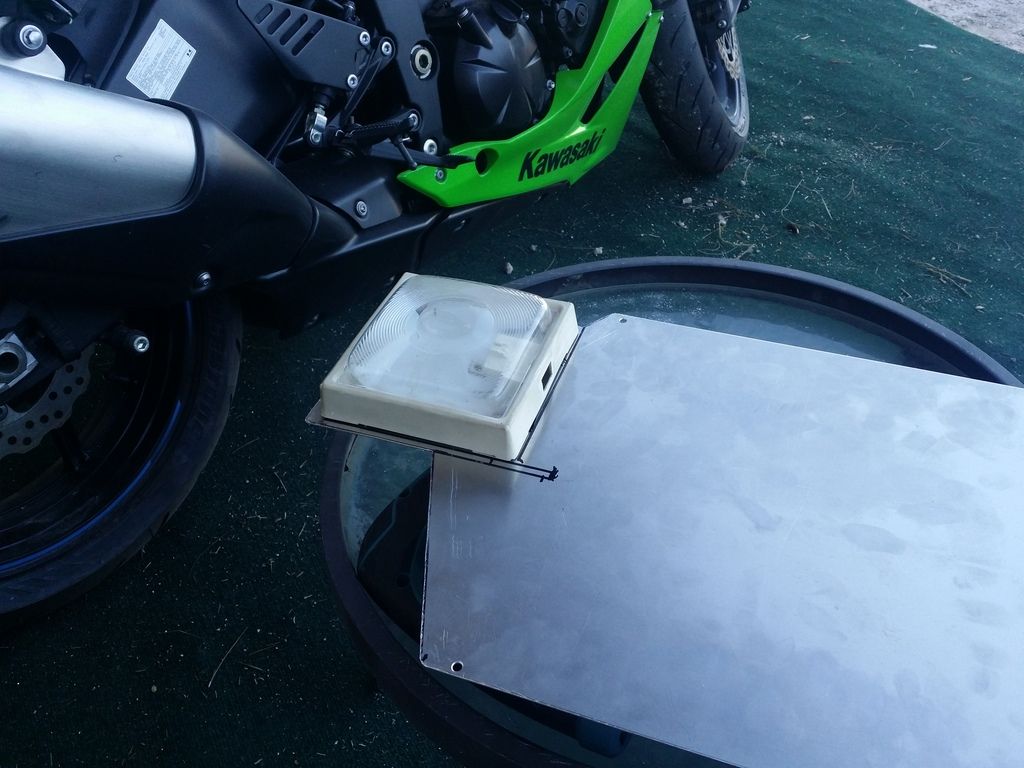 The object was to make the bracket more elaborate and lightweight all while remaining strong; but unfortunately consoling my wallet this month lent me two realities (a) a carbon fiber panel I desired wasn't happening this month and further more (b) the cardboard mock up I performed and then the aluminum was by far cheaper even if I had to do it twice. The good news is I'll have a great template and small upgrade at a later date to do when I get the sheet of carbon fiber I wanted and "needed" lol  In the interim, I've got a nifty idea for these guys if I can get a hold of a 3rd one.. I'm thinking a small 3 fan setup that can plug into one of the 12V power ports on occasion as a fan to pull warmer air out/or pull in cooler air of the Flip-Pac side window since the passenger side is going to be compartmentalized and no longer function as a window with a venting functionality to it. I'll just wire it in a way that allows me to reverse the polarity as needed. They were used to keep a very large Xerox machine control box pretty damn cool so I have no qualms thinking a tri-fan set up would be any less efficient... ----------------- Now today... today I lucked out and found a couple Rangers in the local Pick-a-Part.. I've been on a loosely minded 2 year search I think now and well today I got what I was looking for even if only somewhat temporarily for the 2WD version of the truck. But until I find the next large component to start a major project section with. I am eagerly on the hunt for an extra cab frame and bed setup. But that's for a later topic and idea..  I'll be cleaning these up, stripping them to bare metal, powder coating them, AND then I'll be working on producing the proper brackets needed to create offsetting the NEW & also powder coated calipers so the spindles can accept the 04' Explorer Sport Trac 12" rotors. This way I will have a larger big brake kit utilizing factory components, Upgrade to the Hawk Brakes LTS brake pads and a set of Stainless Steel lines up front.. 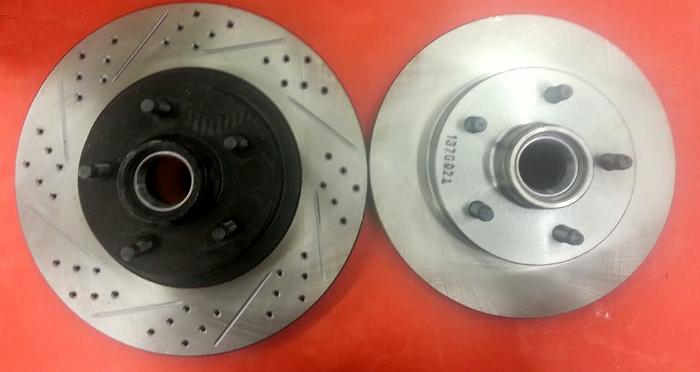    The end result will be worth while At least until I get the 4x4 frame to start stripping it down, boxing it and making modifications to it, and find someone who can deal with some of the bigger things like media blasting it and coating it with paint; which will likely bring up another topic in another thread later. So another iron in the fire of projects started but I think this will be done relatively quickly, especially if I order materials next week to weld. _
__________________
_______________________ My Build Pg. Threads + 93' Ranger Overlanding Build + 94' Ranger Bed Overlanding Trailer Build + 12° North Industries ~ I Support 
|

| Register and never see these ads again. | |
|
|
|
#122
10-30-2017, 12:19 PM
|
||||
|
||||
|
So just a random update..
Called a couple places on the time frames and cost factors of media blasting since I don't yet have the facilities I used to have to do that myself anymore and powder coating these new steering knuckles, caliper brackets, and NEW calipers I will have to order in along with some NEW stainless steel soft lines. I am having a hard time choosing a powder coating color due to the reasoning that these will likely be ran for only a short time. When I body swap over to the newer 4x4 frame I cant swap the larger rotors over and I will have to think of what I can do for a bigger brake kit then.
__________________
_______________________ My Build Pg. Threads + 93' Ranger Overlanding Build + 94' Ranger Bed Overlanding Trailer Build + 12° North Industries ~ I Support
|
|
#124
10-30-2017, 06:50 PM
|
||||
|
||||
|
Quote:
 When I cross over to a 4X4 chassis, the new hubs are larger. I dont think they fit the 12 rotors from the Sport Trac unless a 4x4 Sport trac. I may have to cross over some part numbers and specs
__________________
_______________________ My Build Pg. Threads + 93' Ranger Overlanding Build + 94' Ranger Bed Overlanding Trailer Build + 12° North Industries ~ I Support
|

|
#125
11-13-2017, 10:47 PM
|
||||
|
||||
|
Quote:
Apparently: "Dana 35: On a Dana 35 or Dana 35 hybrid truck (Dana 35 beam with Dana 28 gears) you swap over the 1995-1997 Ranger steering knuckles, calipers, caliper brackets and rotors (the spindle, shaft, lockout hubs, etc are all the same and interchangeable). If you are retrofitting a two-piston brake Dana 35 TTB (1995-1997 Dana 35) on to an earlier Ranger or Bronco II, you specifically want the ABS style brake hoses." HOWEVER... When I get my cut & turned beams back from Solo Motorsport, they'll be Modifying Dana 35 TTBs to run a Dana 44 spindle, snouts, & hubs so I'll have to still collaborate some thoughts with them further.
__________________
_______________________ My Build Pg. Threads + 93' Ranger Overlanding Build + 94' Ranger Bed Overlanding Trailer Build + 12° North Industries ~ I Support
|
|
#126
01-15-2018, 04:01 PM
|
||||
|
||||
|
Maybe making the move towards a new toy to work on next to and for the Ranger..
Locally just found finally a 4BTa Cummins that's affordable to throw in the new 4x4 frame. I should be going this week sometime to check it out get some numbers off of it and find out also if its got the VE or the P Pump on it and if its what I want. I dont want an engine from an Agricultural machine or a mounted unit for something else. I need one out of a "on road" vehicle application.. Fingers crossed !
__________________
_______________________ My Build Pg. Threads + 93' Ranger Overlanding Build + 94' Ranger Bed Overlanding Trailer Build + 12° North Industries ~ I Support
|
|
#127
01-16-2018, 04:01 PM
|
||||
|
||||
|
nice.
if you in any way think you would like a 4bt and 4wd conversion... I think it is a waste of your time with finding a 4wd chassis. if it were me(just ridiculous opine here) if I wanted to have a good 4bt overlander with this body size footprint... I would not cut and turn the 4wd beams for a d35. if they have not started that I would have them pause that process. build a custom k member that will accommodate your targeted ride height and as a bonus the 4bt. there are even parts to make the 4bt a bolt in to the full size style k. a ranger ttb k member in stock form impedes the use of a 4bt due to the height of a 4bt. so your having some compromise and modifications right off the bat... if you can build a custom tube ttb k member it would be ideal, but cutting and plate fitting the f 150 k member and bracketry lower between a 2wd ranger frame gets you a solid system that is easy to get parts for and is much more stable and will easily accommodate a 4bt.. you wad up a custom beam, its not cheap. a stock d44 of course would be fine. this would be a swap I could do here for under 300 bux as I could pull it all for 150. if your against the stability of full width cause you don't want fat fenders ect... then the d35 with 44 outers or spindles with brake brackets is good enough. but I still suggest a custom k member. if you were wanting to race....yeah a long travel setup with custom beams and beefed up brackets in oem points is worthy. your not racing... so an oem ttb 44 with longer arms and good coils is pretty good for the overlanding... run a full float d60 out back and you would have one hell of a solid dependable platform for bottom dollar. as to the 4bt....a unit with excellent compression on a wood chipper for the right price would be a no brainer....swapping an IP should not be a stopper if the price is right. any way you do it, I will be watchin 
__________________
88 ranger ext cab....propelled via a 6.5 diesel tickling 4l80 cog box, with a f208 hanging on for dear life trying to spin 1 tons turning from 33 to 44 inch tires depending on the days agenda. sooo....how a like me now 
|
|
#128
04-20-2018, 01:09 AM
|
||||
|
||||
|
Quote:
Thanks, couple things to look into and consider, if nothing else take into consideration or further other thoughts.. I have considered the height of the engine already, seems quite a few Ranger owners have gotten by with a 3" BL and well thought out engine mounts too. Seems every ones got some input on the thought. I'll likely return to this to maybe explain my thoughts better in detail too. ---------- I finally was doing something else tonight and I wanted to take some fresh pics of my under hood light efforts. Almost 3 years old [I believe now], no issues with heat, no 2-sided tape concerns, it just works, and brightly too. Here is from about 20 ft or so away, note the amount of shadow light surrounding the front of the truck area. 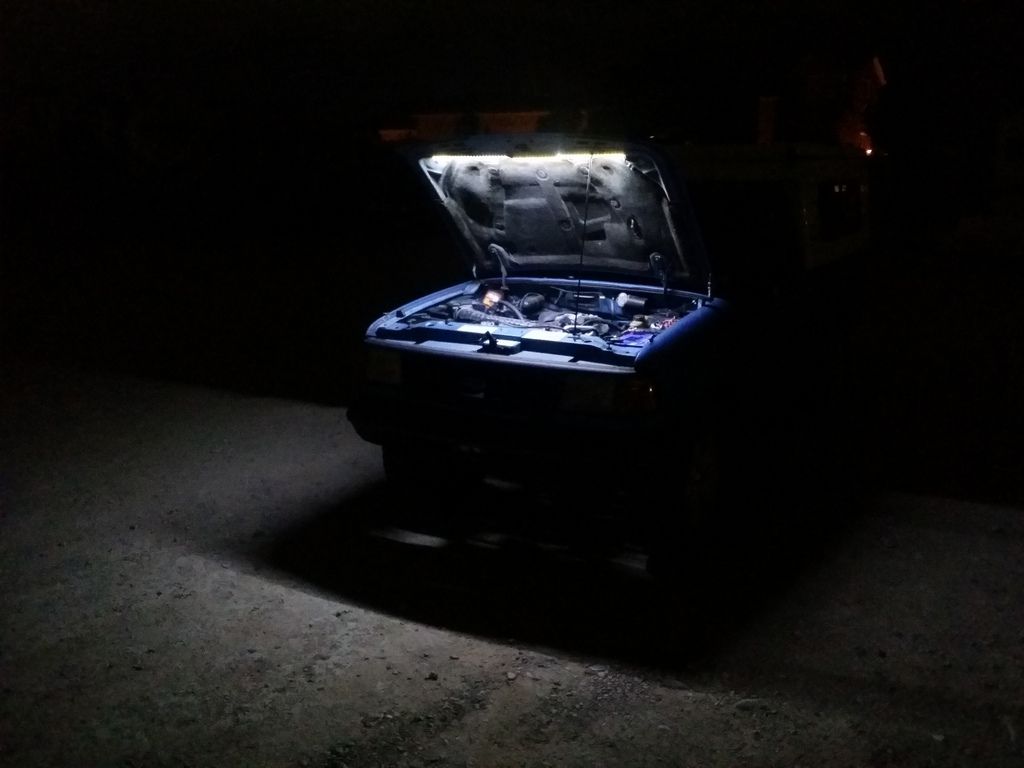 From about 6 ft away  3ft above the engine or so.. 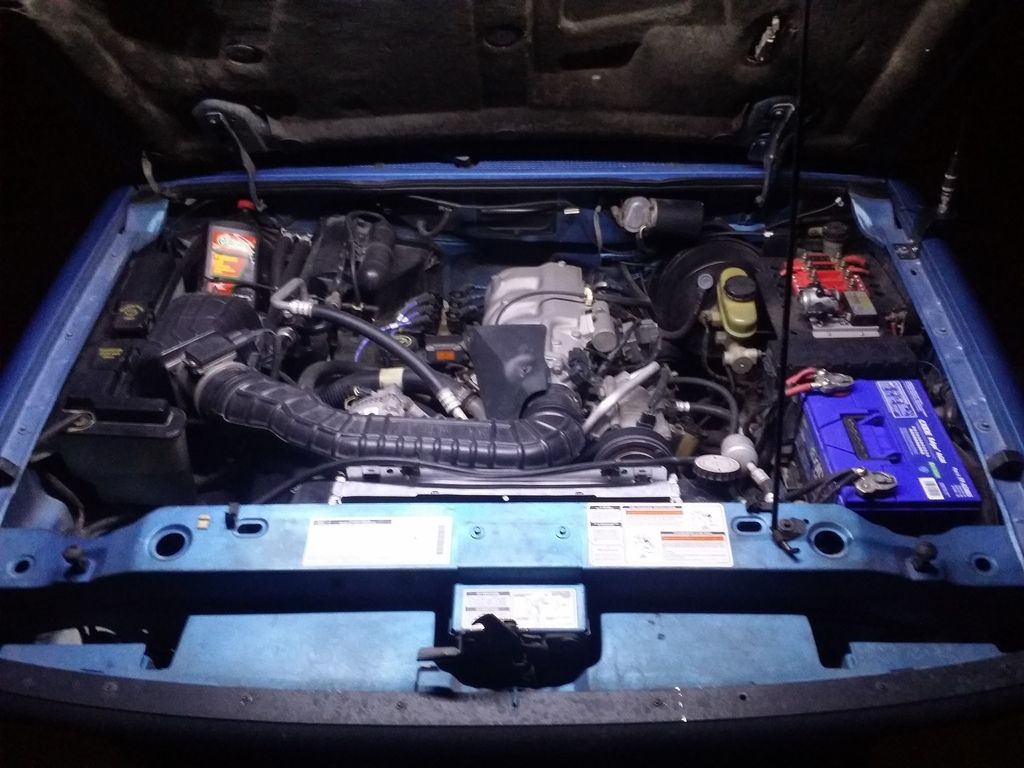 I modded the factory mercury switch, kept the waterproof secondary switch for the fact of the light is so bright that while off roading at night. The mercury switch bounces around and makes temporary contact and from in the wheel liners it looks like I have a mini-lighting storm going on under the hood; which also doubles as a switch to kill power to the light during the day when the light is unnecessary as the OEM one would require you to literally unplug it in order to do the same.. wasn't an option for me. All wiring neatly tucked and routed to eliminate any wire chaffing issues, shorts, etc.. Also added another same light onto the glass window of the topper for the benefit of turning the tailgate into a work surface area for trail cooking at night, making some coffee or fishing in the cooler for a cold Kilt Lifter beer! The addition of an 8pc rock light kit will assist in the under-illumination from within the front wheel wells for the lower portion of the engine bay and somewhat underneath, as well rear wheel wells, front and aft of the spare tire storage. This should give me all the additional illumination from under the truck should I need it. If not, I have several Streamlight flashlights that are USB rechargeable with extra batteries.. lol Just my thoughts on it all, whatcha think of the setup?
__________________
_______________________ My Build Pg. Threads + 93' Ranger Overlanding Build + 94' Ranger Bed Overlanding Trailer Build + 12° North Industries ~ I Support Last edited by Undrstm8ed; 04-20-2018 at 01:12 AM.
|
|
#129
04-20-2018, 01:51 AM
|
||||
|
||||
|
As for the "other" thing..
I picked up another light through 12° North Industries to play with in deciding WHAT light would work best. So far, I am a bit impressed with the 6" version of the G4SR LED light bar shown here https://www.12degnorth.com/product-p...-led-light-bar . The site is alright on pics and I'm all sure we can fathom a 6" light but for comparisons.. 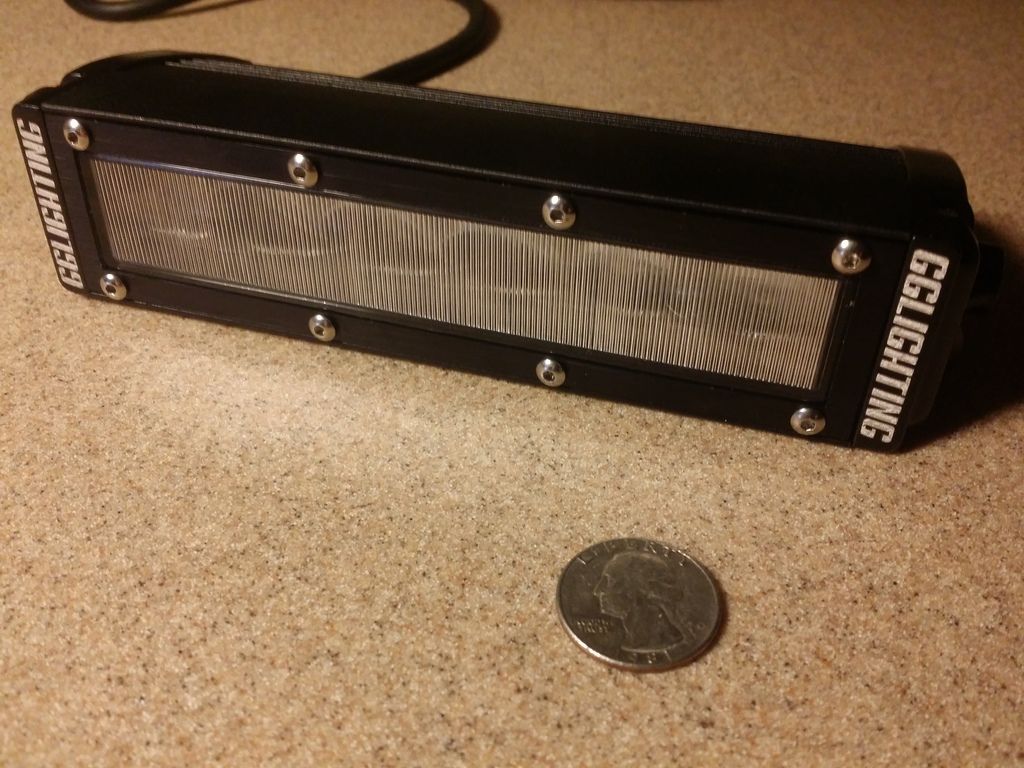 I ordered it with a additional diffused lens, and sadly, I failed to take the pics of the spot lens it comes with. But I have time to do that tomorrow and amend this post with those too. By the time most read this I'll have already swapped the lenses out in preparation. Below, you can see the clear lens vs the installed diffused one. 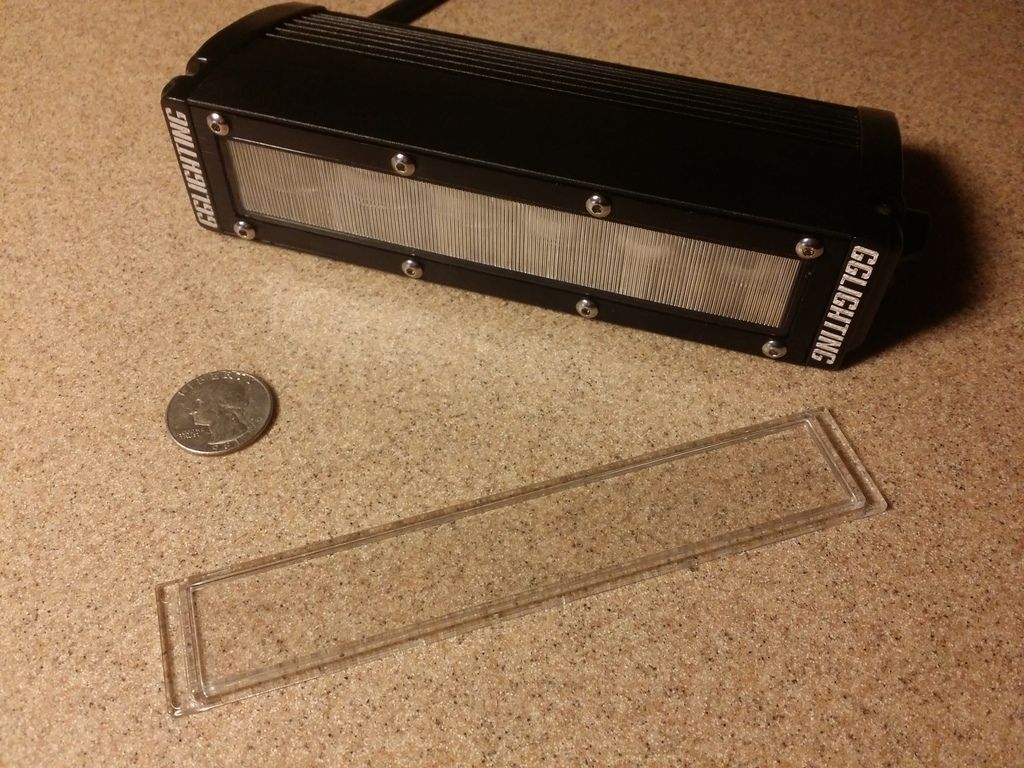 So, I took a few interesting pics, sadly as good as my phone takes pics, night pics arent the greatest so I will say the pics do NO justice. You'd really have to see it for yourself to be honest. But in my attempt to wow folks.. Here goes. Facing the light at about 30 meters or so. Here, it doesn't look like much considering its size. 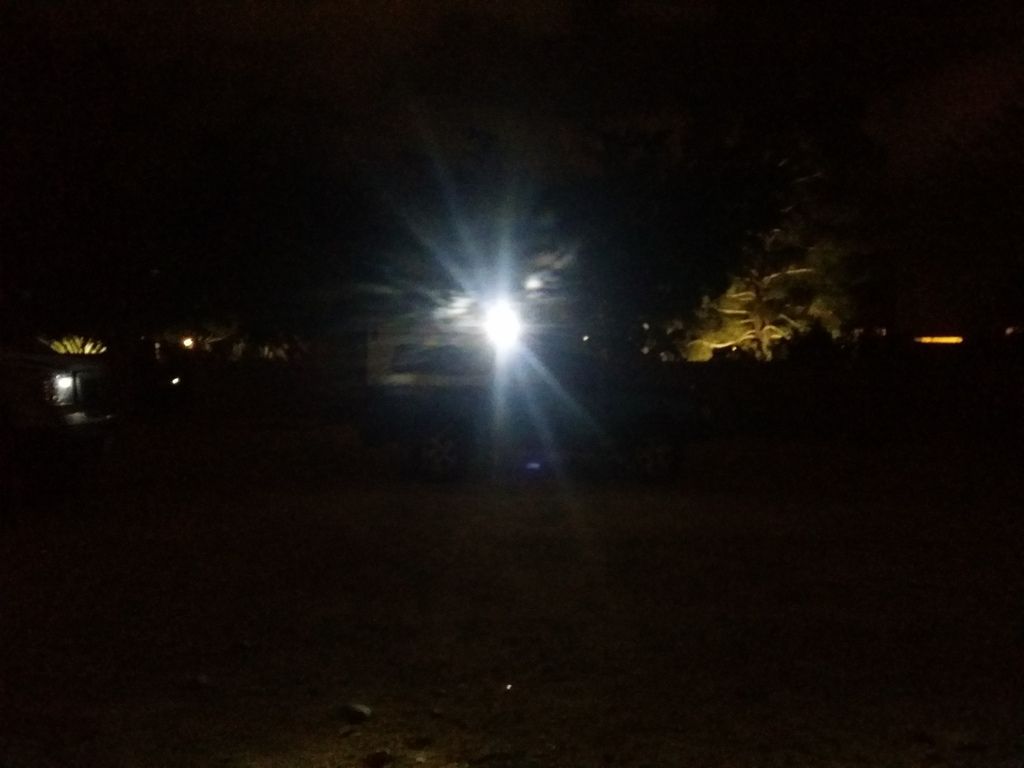 I temporarily mounted the light just forward of center on the Flip-pac in consideration of a creative mount above it, or possibly making a flush mount box/cradle mount that would be cut into the side of it. This way I could eliminate a protruding device and have something flush mounted, a bit less obvious but also a way to adjust or even move the lights up and down for an up-close or distance adjustment. So from this angle, I am standing against the side of the truck, under the light and catching the hot spot, the width of brighter portion, and some shadow light all around. 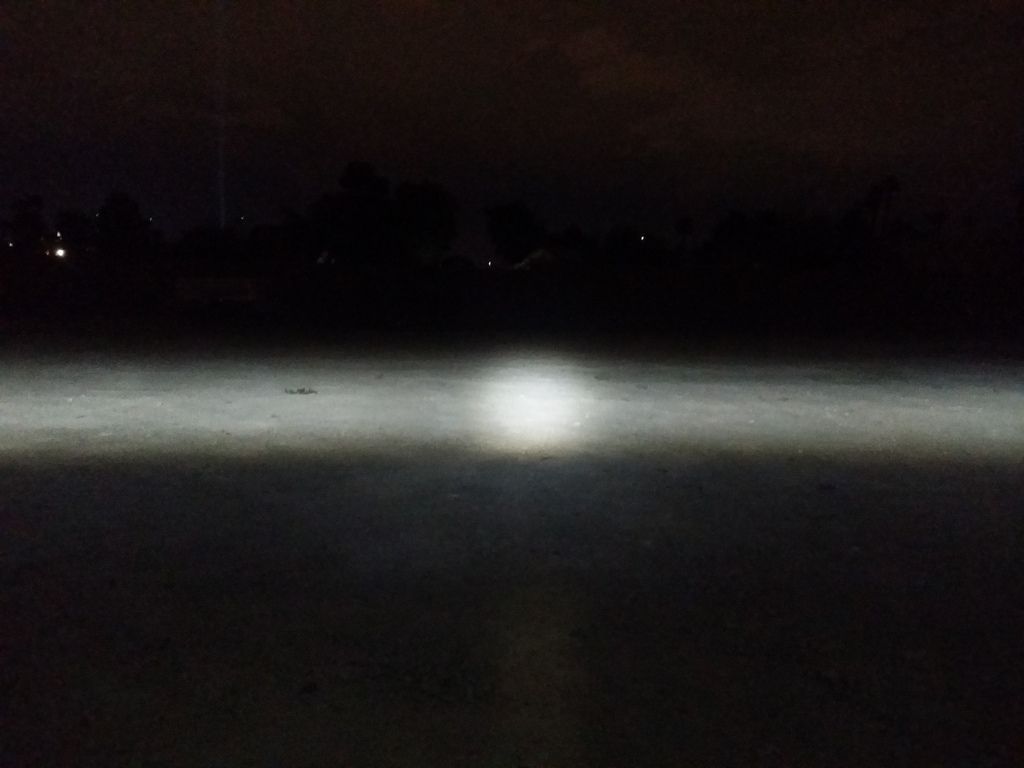 To get a better picture of this, unfortunately the panoramic pic bends the lite upwards, life wise it was more the opposite of if not more flat [youll see in the next pic]. And this was shot standing on the rear bumper, hanging nearly over the light itself.  This was standing about 40-50 ft in front of the truck. More than enough light I think.... But, I think I am going to order a 12" and one more diffused lens just to see how much more light would or could be thrown from the same spot. I can always sell which ever one I don't use or repurpose it for another task. but I think I need to see the larger light to be sure. 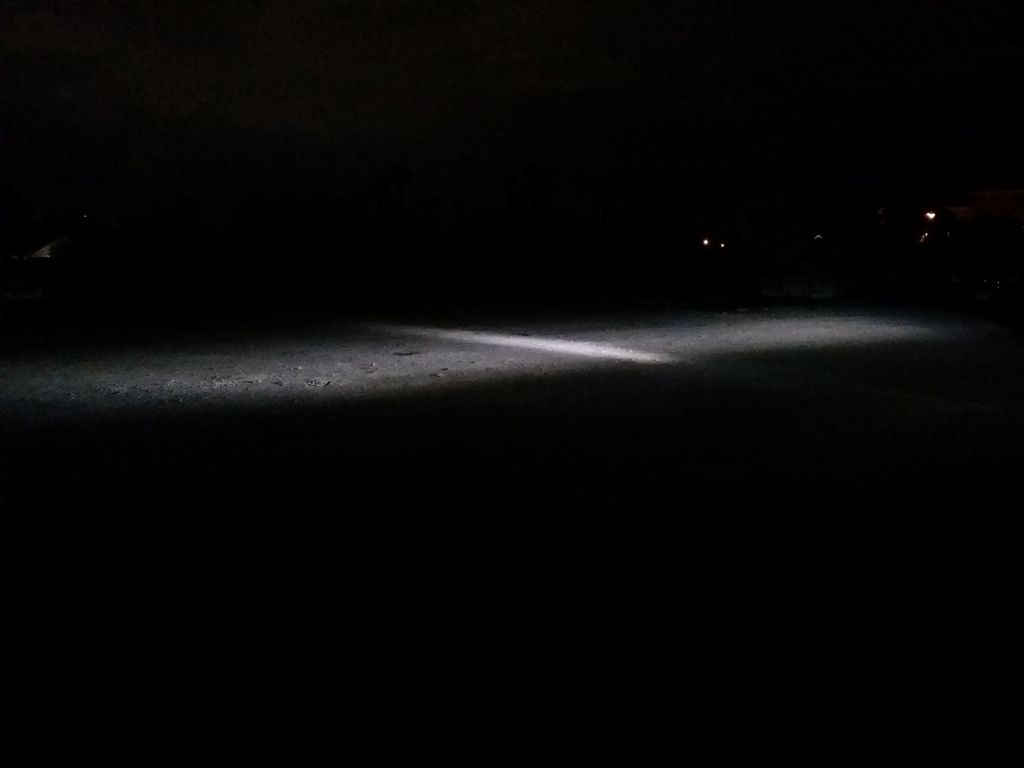 thoughts on the side lights?
__________________
_______________________ My Build Pg. Threads + 93' Ranger Overlanding Build + 94' Ranger Bed Overlanding Trailer Build + 12° North Industries ~ I Support
|
|
#130
04-20-2018, 11:55 PM
|
||||
|
||||
|
I got home a little late but it worked out well, clouds cleared up and had less light pollution reflecting back.
The 6.00" G4SR comes with a spot like lens and when lit up it gets a pretty fair distance, I had seen at least a good distance the other night but that wasn't the goal tonight. Tonight was the difference shown from "spot" to "diffused" and meeting the needs I want and as I stated above, I still want to see the 12.00" version yet but for now, lets continue on with my findings. Starting off, here is under the light against the truck with the "spot" lens in place. 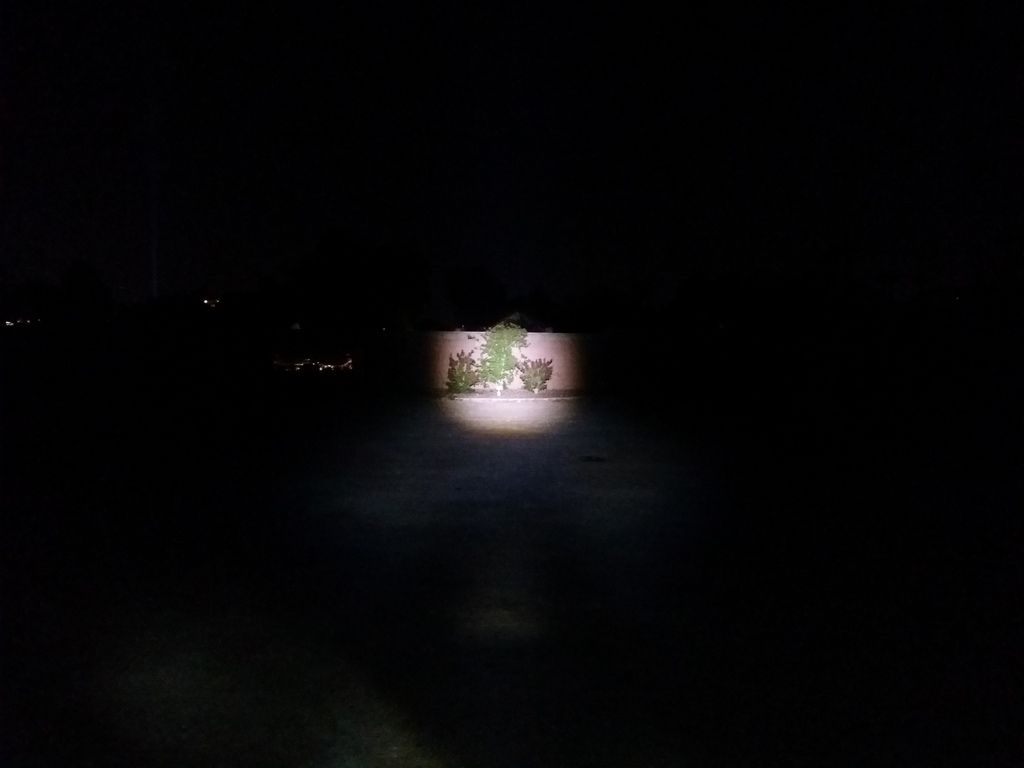 As you can see, the "spot" is exactly that.. a SPOT and I guess there are some slimline functionalities for such a beam and a long distance at that but I new the spot mode wasn't going to work for my needs and why I went diffused. Here I lowered the light as needed and as you can see I elongated the Spot light but still doesn't give me the coverage I wanted. Some remarkable shadow light but I needed more. 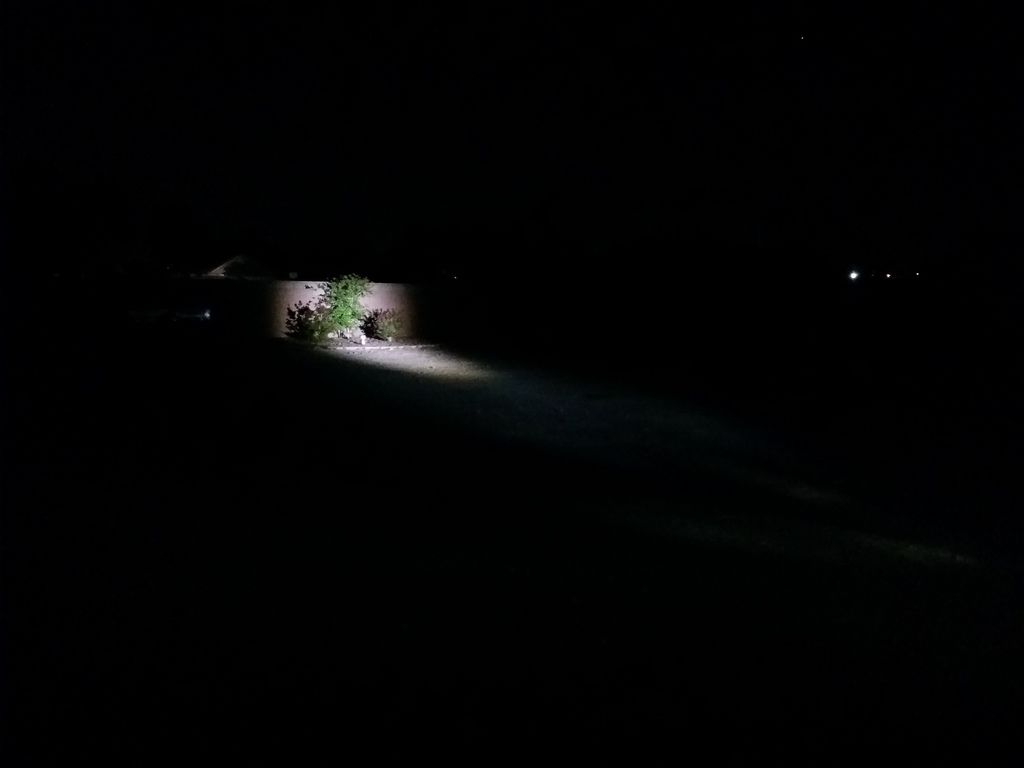 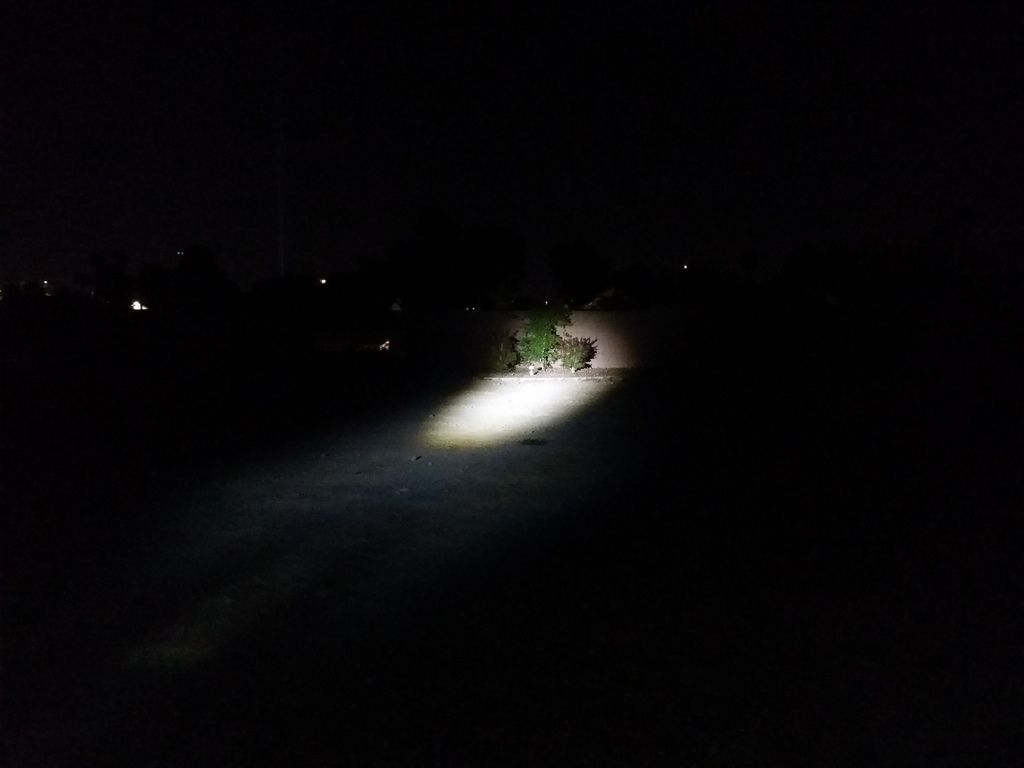 In combination with the ditch lights behind the actual paddle mirrors I kept at this point. You can really see the huge light deficiency between the two light sources. This is where I did get disappointed in the 6" G4SR some. Clearly this is NOT the lens for my needs. 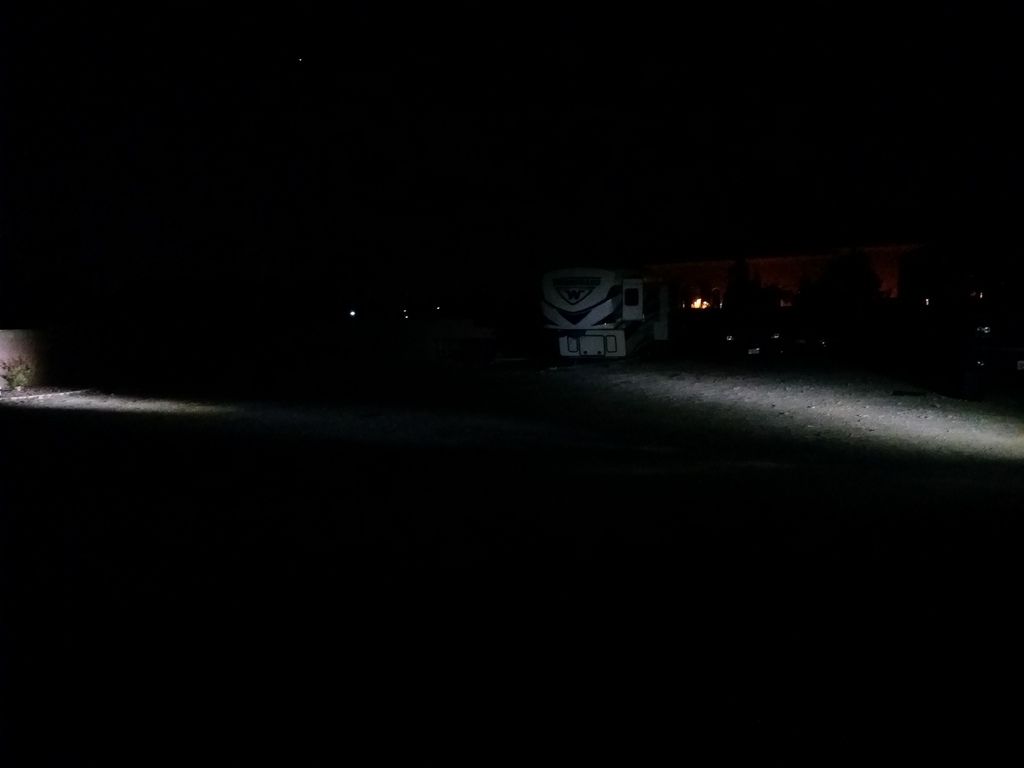 So back into the "Diffused" lens.., and.... using same angle.. much better. 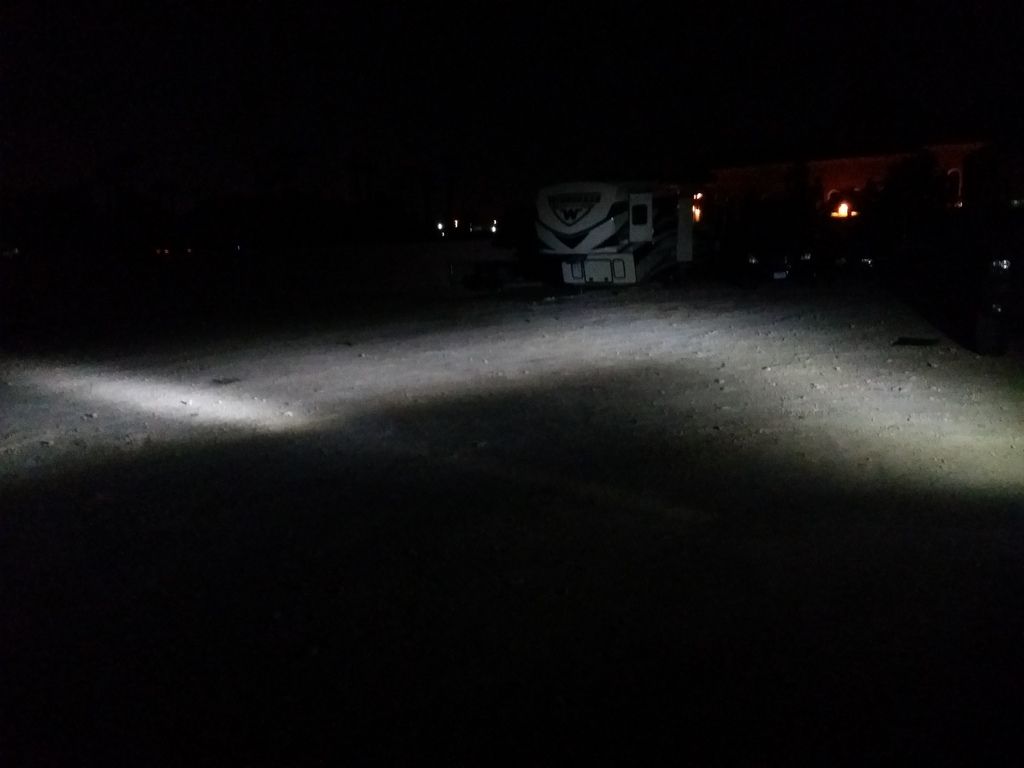  And as I see it from the front direction. 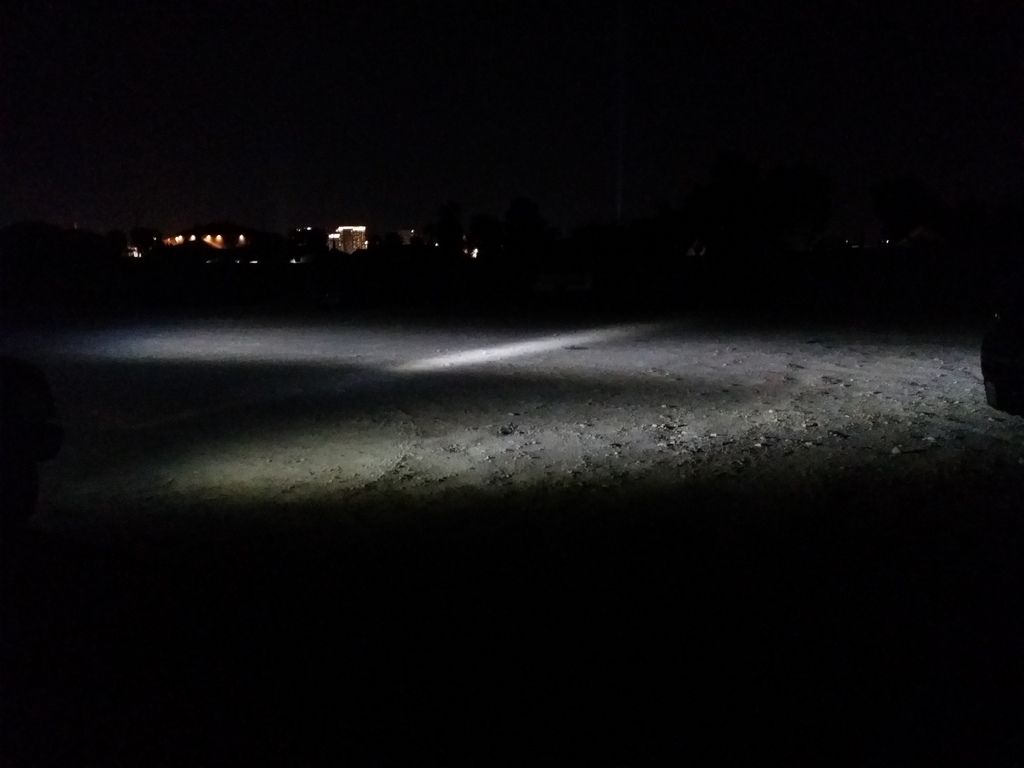 Some positioning would be necessary to maximize all of the light and not to be too redundant, here lies the possibly excessive need for seeing the 12.00" G4SR in action before I choose one or the other. Questions? Ideas.. thoughts?
__________________
_______________________ My Build Pg. Threads + 93' Ranger Overlanding Build + 94' Ranger Bed Overlanding Trailer Build + 12° North Industries ~ I Support
|
|
#131
04-28-2018, 01:17 AM
|
||||
|
||||
|
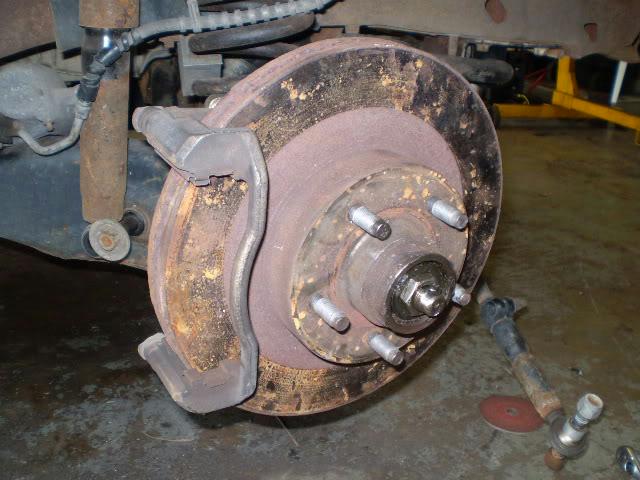
Well, the next few days I have parts coming in again. Procrastinated too long to redo the front end work. Much needed attention will be going in to it over the next couple weeks. So I'll be raking up my rockauto frequent flier miles..
First shipment came in today.. Upper and lower ball joints, inner/outer bearings and seals. I am missing the Axle pivot bushing, i think it may show up tomorrow or Monday. 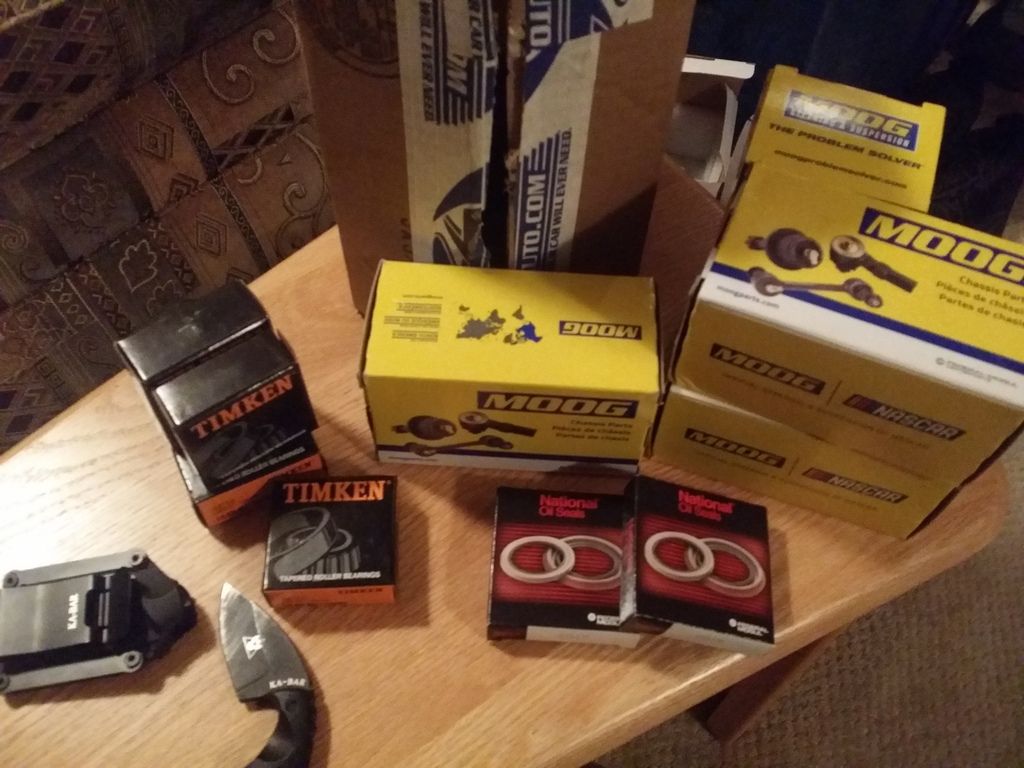 Next shipment also coming in I think Mon/Tues should be new rebuild kit for the steering box, new seal for the pitman arm, and the two new rag-joints. End of the week should be the new drag link, all new outer joints, and new calipers!! I've had stainless steel lines sitting here in a box along with some Hawk Performance pads forever staring at me as I walk past them on the shelf nearly every day. Which means.., Monday or Tuesday more likely I am dropping off the 95-97 Steering knuckles to get media blasted and sent off for powder coating in anticipation of those new twin-piston-NON-slide pin calipers, the Hawk brakes and new rotors. Which the rotors I will have to order this week too. And.. I believe somewhere in between there my Snorkel kit should be dropping in as well so that will be also in the mix of things to do. Which is where this part and the modifying it took on comes into play.  Work-work-work but at least I get new parts in too, which also means by end of next month.. NEW much needed Rolling stock after almost 49k, and I'll be continuing on with a new set of Dynapro MT's, this time, with the full size spare and one size up. I think by mid summer I'll be making an addition to that too. 
__________________
_______________________ My Build Pg. Threads + 93' Ranger Overlanding Build + 94' Ranger Bed Overlanding Trailer Build + 12° North Industries ~ I Support
|
|
#132
05-02-2018, 10:27 PM
|
||||
|
||||
|
I finally cut the seal on the Camburg box in preparation for the work that I'll actually be doing soon. Waiting on a 3-4 other shipments of items to trickle in this week and next. I'm really nerding out on these Stainless Brake lines from Camburg tho..
  Man, I can't believe I waited this long to open these.. I love the ends, reminds me of the big three updated battery cables I put in.   Tomorrow morning the newer 95' steering knuckles go to the shop to be sent out for media blasting and then they'll come back for inspection, and then powder coated. Which means I have less than a week to decide what color I am going to go with on the calipers. I want to do something sorta unique but in the theme of whats going on. So the typical colors with the exception of 'Red' may be out. Got to go through my designs and idea list.. this is sometimes why it takes me so long to accomplish some things. Adding new brake calipers, the Hawk pads, new rotors, brake shields, hardware, guide pins & seals, new upper/lower ball joints, bearings, seals, clean up the bolt heads if not replace them altogether.. etc. I did think about trying to finding to find equal grade bolts and in Stainless Steel too but Not sure how those two dissimilar metals would work out. More research, expedited! And I found out late this afternoon that my snorkel kit shipped out today.. I think I may do an un-boxing pictorial and do a video for the install. Everyone loves seeing someone take 3" hole saws to fenders!! Feeling like a 12 year old that knows what he's getting for Christmas already. Maybe I can leave work early that day lol
__________________
_______________________ My Build Pg. Threads + 93' Ranger Overlanding Build + 94' Ranger Bed Overlanding Trailer Build + 12° North Industries ~ I Support
|
|
#133
05-08-2018, 12:06 AM
|
||||
|
||||
|
Sent out the steering knuckles for media blasting.. came back great. Now Friday they get dropped off for powder coating.
    Decided to do the Dust shields too..  And I was pleasantly surprised if not geeked for UPS to hit my address early in the am rather than waiting the entire afternoon for my Snorkel Kit. Install pics of course will follow.   And surprise! Doesn't interfere with either the cowl or ditch lights or their patterns of light thrown during a hand-held mock up. I was bugging that I would have an issue with one or both and have to move them.  I need to get ahold of my MAC or Snap-on guy for two tools I want, one as a WANT (ball joint press), the other as a replacement since its in storage back home at the 'Rents in Michigan and virtually unreachable. Oh well.. never bad to have more than one hole saw kit I guess.
__________________
_______________________ My Build Pg. Threads + 93' Ranger Overlanding Build + 94' Ranger Bed Overlanding Trailer Build + 12° North Industries ~ I Support Last edited by Undrstm8ed; 05-08-2018 at 12:09 AM.
|
|
#134
05-09-2018, 02:30 AM
|
||||
|
||||
|
Today I looked at the big box leaning up against my couch, swigged my coffee, looked out on the property at the truck.
I opened up the box, pulled some parts out.., looked out at the truck, chased my thoughts with another gulp of coffee and pushed the parts back in the box.. After the second go around I grabbed my keys, my coffee, dragging the big box in tow, my small MAC hand-tool bag, some tape, a sharpie, and my auto-center punch, and popped the hood... I couldn't help myself further. This isn't going to be in write up fashion but albeit heavy picture ladened as usual. I assembled some tools and things I would need.  The canvas was waiting.  Now if you're squeemish about drilling holes in your car/truck, let alone 95mm (3.75") ones.. I'll be happy to zip a hole in any panel for a small fee or donation on your part. After checking several times as to where it should line up, how it would line up, I finally settled on what I thought was the best position. Keep in mind this kit https://www.12degnorth.com/product-p...-series-ss60hf isn't meant for a Ranger, just happens to be the closest to the character lines and is a quality part with nearly all its components in one box, add some extras you wouldn't be using.  I marked my holes, center punched them and grabbed my starting drill bit and the cordless.       Next was the inside OEM Air-Box; its removal, cleaning, and water proofing & dust sealing. Pulled the two halves apart, cleaned the lower box up and prepped it for sealing.   Inside and out was sealed properly;     Once that was done, I went back to adding the 2nd coat of paint to paint the inside edges using an old model plane/car trick. this saved some time.  Added some thread locker to the studs.   Mounted the lower box back in and test fitted hoses and harnesses in the process.  Sealed up the last mechanical interference...  I'll have to post the rest of the pics and the final cut tomorrow.
__________________
_______________________ My Build Pg. Threads + 93' Ranger Overlanding Build + 94' Ranger Bed Overlanding Trailer Build + 12° North Industries ~ I Support
|
|
#135
05-09-2018, 08:34 PM
|
||||
|
||||
|
Continued...
Some of the fender work was a bit more tedious than expected BUT only for the fact that for whatever reason Safari/ARB decided to include a 75mm cuffed hose duct and a 74mm aluminum elbow.., well, perhaps on the Land Cruiser the inner angles are different. But for me, I grew tired of fighting not having three or four arms so I pulled the fender. You can see how the tolerances were very close in the next 2 pics.    Once I pulled the fender it gave me an opportunity to work at something rather then under it and fighting the tight tolerances and angles for the duct work attachments and inspect under the fender for any issues... Maybe I should have just got some shorty Jeep fenders too.. Naahhhh lol   Now, I've seen a few of these kits done already on other Rangers with similar results and they all started off good and then when they got to the end, they got desperate or uncreative/cheap and turned a bunch of hard work into a shit job sad to say. I went out of my way to order a second cuffed duct from Safari to do an outstanding and reliable, and sealed setup that looks good and performs well.   Anyone telling you that for $6.99 Dryer vent and a roll of duct tape that fell behind the bench finally made their kit all that much better and worth sacrificing a possible engine for after the investment they put in already.. I have no words outside of spend some money and take some pride in your efforts, you had your work cutout for you may as well go for the gold and finish right.    And that pretty much completes the snorkel minus a height adjustment needed to keep from smacking the Flip-Pac on to the top of the snorkel head-duct, but that's another day.   thanks for reading.., be back in a few days with more updates as the front end all gets re done.
__________________
_______________________ My Build Pg. Threads + 93' Ranger Overlanding Build + 94' Ranger Bed Overlanding Trailer Build + 12° North Industries ~ I Support Last edited by Undrstm8ed; 05-09-2018 at 08:50 PM.
|
 |
«
Previous Thread
|
Next Thread
»
| Thread Tools | Search this Thread |


|
|
 Similar Threads
|
||||
| Thread | Thread Starter | Forum | Replies | Last Post |
| Lets see your overlanding/expedition/camping rig. | qhdude | General Ford Ranger Discussion | 50 | 02-18-2017 06:59 PM |
| Undrstm8ed's Audio Build - Ground up | Undrstm8ed | Audio / Video | 2 | 10-20-2014 01:50 AM |
| 96 XLT build | Blue504life | Project Logs | 29 | 12-17-2013 09:37 AM |
| My 99 XLT Build | GoldRangerGuy | Project Logs | 9 | 01-18-2013 02:17 PM |


 |
|
|


 |
|
 |
