Ok got a little bit of work done on the ranger today and I got a few pics for everyone. The only specialized tool I needed was a T55 socket to remove the bolts from the bed of the truck. If you hit all the bolts with PB Blaster, Deep Creep or any other penetrant a few days before and a few times a day you will make this a lot easier. First thing is to unplug the taillights under the bumper before you pull the bed. This is just a quick disconnect that you need to pull apart.
There are 2 ways to work with the bed, either still on or completly off (self explanatory) to do this with the bed still on, you will leave the 2 bolts by the bumper still in, but as loose as possible without them coming out. Then grab a floor jack and jack up the front of the bed from underneath till you have enough room to work (dont forget to support the bed so that it wont fall on you). I chose to remove the bed, they are very light and me and my 17yr old son were able to lift it with very little difficulty. We did prop the front of the bed on the rear bumper so I could get a good look under it and hose it down real well.

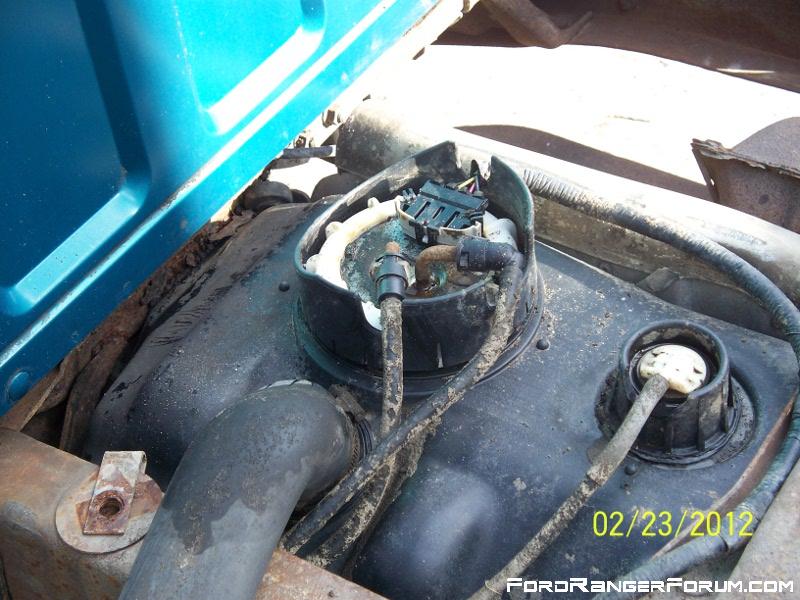
Ok this is what we ended up with and as you can see with the bed off you can get a real good look at everything under there and check for any problems or things that can turn into problems down the road.

So go grab your garden hose or your shopvac and clean all the dirt and crap off the top of your fuel tank and the sending unit (Be careful not to get water in your tank if your fuel filler hose is cracked) you dont want any of the dirt falling into the tank when you pull the fuel sending unit. While your at it give everything else a quick clean while you have the bed off, especially spots you cant hit with the bed on. This is what you should be looking at now.
Now is a good time to check your filler hose to see if it is cracked. I pulled mine and covered the opening with a plastic lunchbag and a rubberband till the new one arrives in the mail.

There are 2 hoses and 1 electrical connection you will need to disconnect (remove the negetive cable from your battery first).
The hoses have clips that are easy to remove by pinching them a little and pushing them out of the connector (the new sending unit should come with new clips). The electrical connector has 3 tabs you will need to lift so you can lift it up out of its socket. Once the hoses and wire connector are out of the way, you can tap the white ring counter clockwise with a screwdriver and small hammer to remove it.

Here is the sending unit out, notice the darkspot on the float, that is fuel leaking out of it. Floats dont work well with holes in them

Good time to grab a flashlight and see if there is any dirt or gunk in your tank. (This works better with an almost empty tank)

New unit installed, battery hooked up and everything works. (notice bag over hole for fill tube so no debris or water get in) New units install in the same position as the old one, there is a tab on the bottom that fits into the notch on the inner lip and dont forget the rubbber o-ring gasket.

So now you can either put the bed back on or do a little PM while it is off. I changed my shocks, cleaned up the frame and threw a coat of paint on it. Checked the brake lines and put a little oil on the emergency brake cable connections and cable where it slides into its tubing. Going to clean up some sloppy electrical work over the weekend since it will be raining tommorow. I will throw a quick pick up when i put the bed back on.
Need to fix this, Emergency brake cable rubbing on shock

Fixxed

Some electrical that need to be cleaned up I dont like squeeze coonectors, I will solder and shrinktube these.

So for now it sits in the drivway with the bed off till the weekend or till the fill tube arrives.