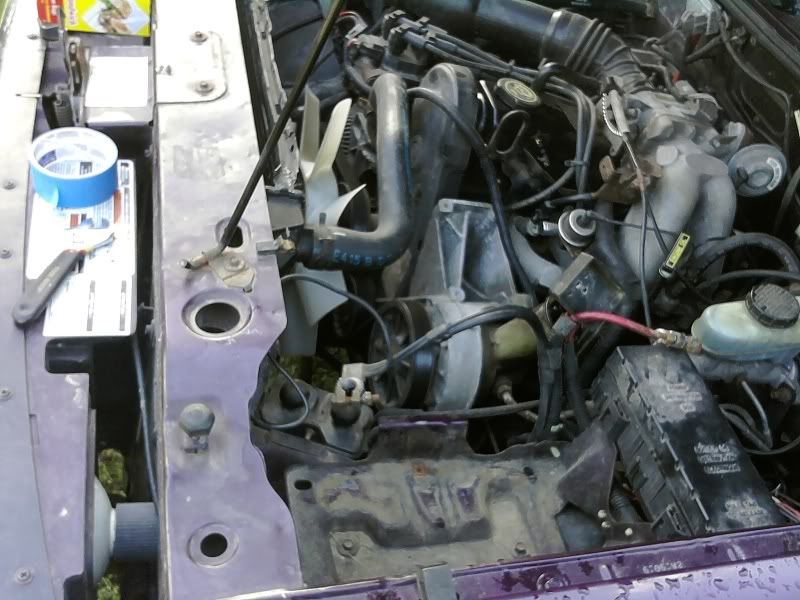
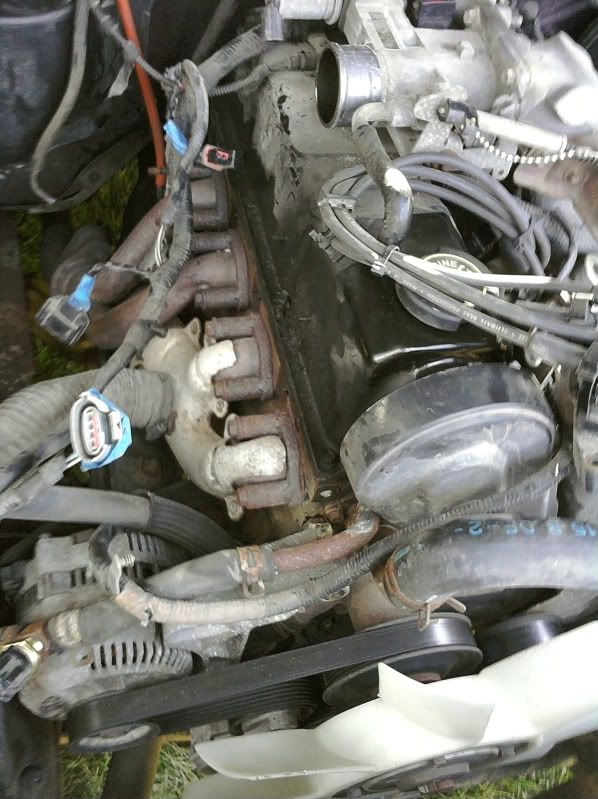
This article will show you how to remove and install the head while performing a headgasket job for the 2.3L 4-cylinder motor [example vehicle is a 1994 XLT 2.3L i4].
I claim absolutely no responsibility for work done to your or anybody elses vehicle. This is simply a helping guide to complete the job. If you don't know what you're doing or aren't comfortable with these procedures, seek professional help.
As I progress through this project I will be posting new pictures daily and including my write-up.
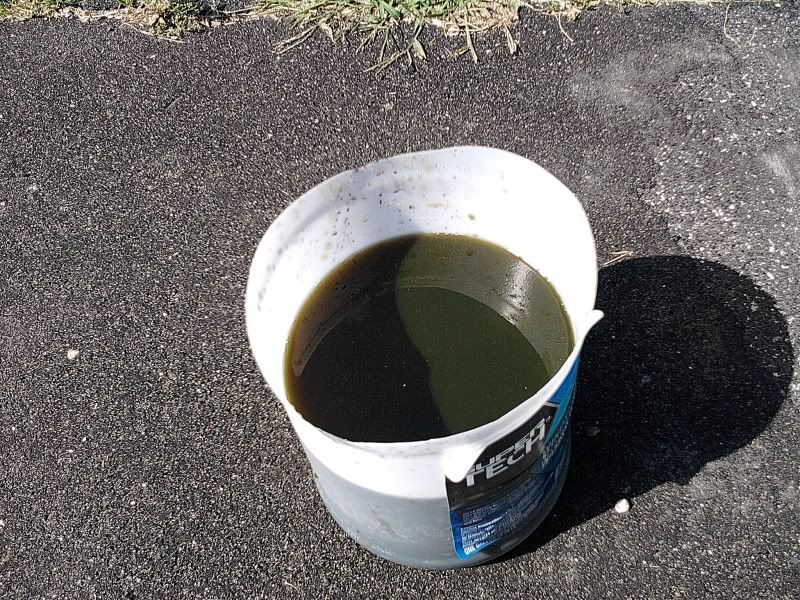
My personal reason for a headgasket job is oil in the coolant - praying to god that my head/block isn't cracked or warped.
- You should ALWAYS have your head checked for flatness and machined accordingly at a professional machine shop before re-installation of the head onto the block. Failure to do so can result in a poor seal between the headgasket and block/head. (this can and will cause leaks, making you do this whole job over again)
Tools [that I know of so far]:
Code:
Pliers
Long flathead screwdriver
Medium flathead screwdriver
Phillips head screw driver
5.5mm socket
7mm socket
5/32 socket
17mm socket
8mm deep socket
10mm deep socket (very important)
11mm deep socket
13mm deep socket
16mm deep socket
22mm deep socket
BREAKER BAR
10mm open end wrench
13mm open end wrench
13mm racheting wrench
25-250 in-lb torque wrench
10-150 ft-lb torque wrench
Extensions
Swivel socket
Bolt-on harmonic dampener puller
Spring lock coupling tool (1/2" and 3/4")
Feeler gauges
Flat-edge for checking head and block
As far as the parts list goes, depending on why you are doing your headgasket job, you may need to flush your coolant system. In this case, I picked up a flush-kit from my local parts store as well as coolant system cleaner from Prestone.
Parts list:
Code:
Felpro head gasket set
Head bolts
Water pump
Water pump gasket
Timing belt
Timing belt tensioner
Thermostat
Upper radiator hose
Lower radiator hose
MotorCraft Platinum plugs
Spark wires
Oil + filter
Coolant
Coolant temperature sensor
60+ fluid ounces of carb cleaner
Red RTV gasket maker (high temp made for water pumps!)
___________________
~$355.00
1. Remove negative cable from battery post, Remove positive cable from battery post
2. Remove battery hold-down
3. Remove battery from vehicle and store in an appropriate place.
4. Remove two flathead screws from airbox.
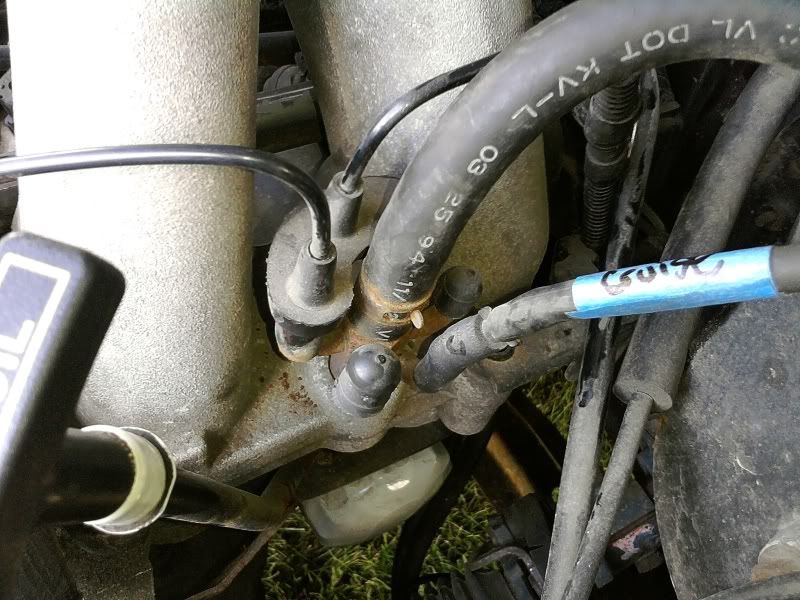
5. Remove and label both vacuum lines attached to airbox cover
6. Remove clamp from throttle body holding the airbox tube in place
7. Remove top portion of airbox and set aside.

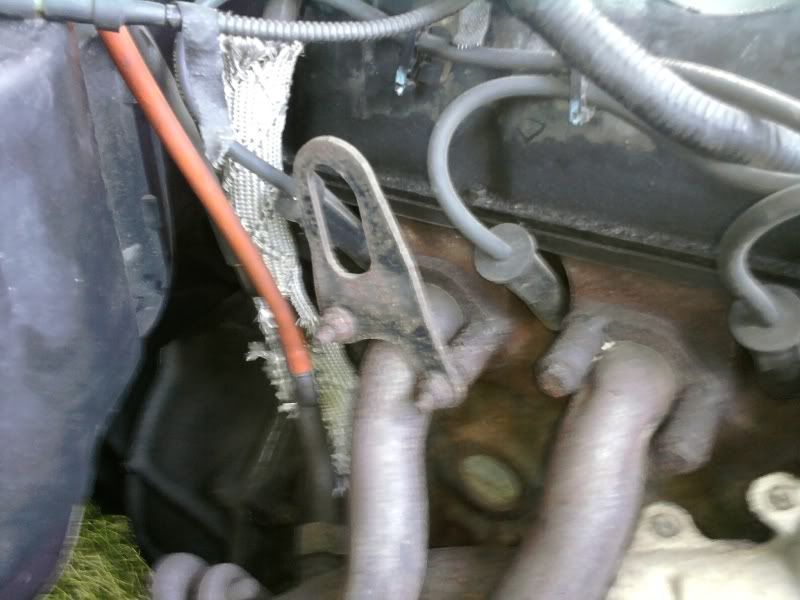
8. Remove bracket from #4 exhaust cylinder (13mm socket)
9. Unplug all spark plug wires (FROM ENGINE SIDE ONLY), label the wires driver or passenger side, depending on which coil they are attached to.
10. Unplug connectors from coil packs
11. Remove both coil packs (7mm socket [I believe]) with wires attached and place them somewhere dry.
12. Remove the coil pack bracket (13mm I think)
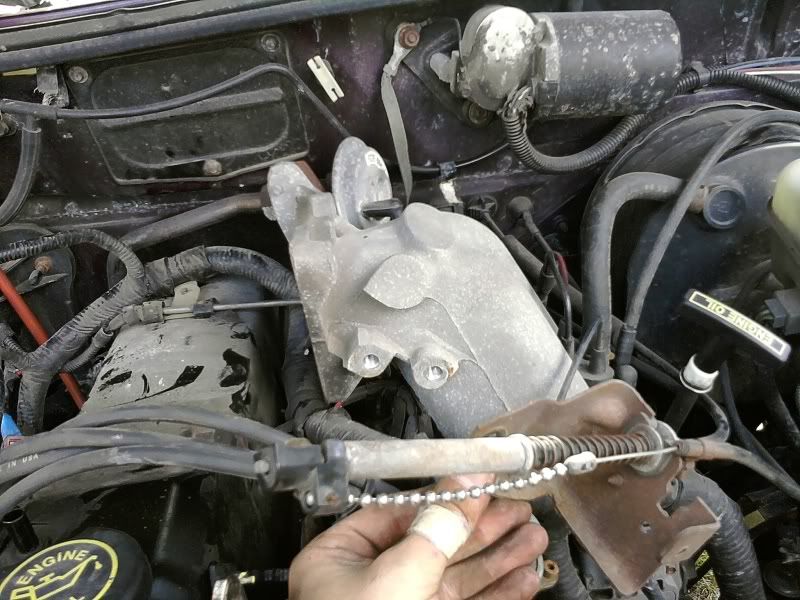
13. Remove throttle cable and cruise cable linkage from throttle body arm (this just pops off - you might want to lightly pry on the clip inside with a flathead)
14. Remove two throttle cable bracket bolts (10mm)
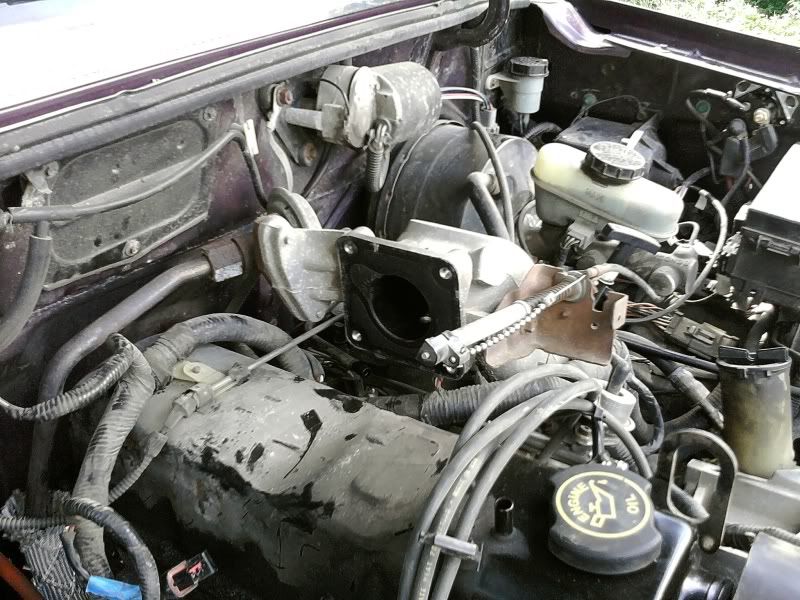
15. Disconnect all wiring from the throttle body and remove the four (10mm) bolts that hold the throttle body to the upper intake manifold. Remove throttle body from vehicle.
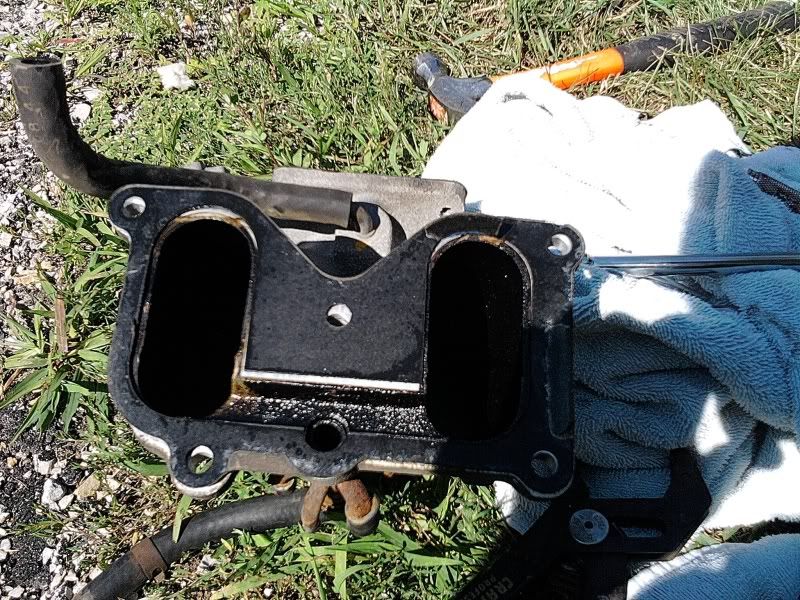
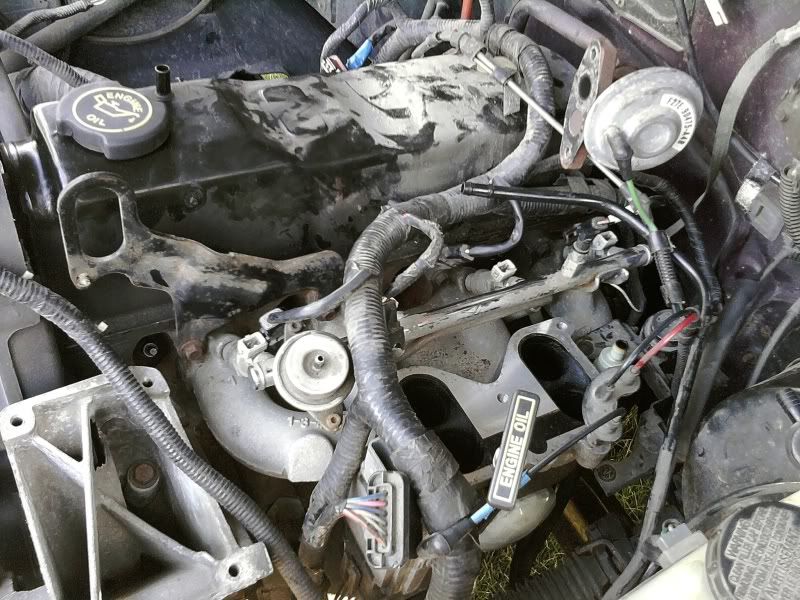
16. Remove bolts holding the upper intake manifold (10mm - make sure you have a deep socket for this one)
17. Remove the bolts attaching the EGR to the upper intake manifold (10mm)
18. Remove all vac lines from intake and label accordingly.

19. Disconnect fuel injector wiring (this might be a good time to measure the resistance of each injector, or once you get the lower intake off the vehicle - personal preference really)

20. Remove upper and lower radiator hoses (flathead) and remove the two radiator mounting bolts (10mm) - Remove radiator and flush with garden hose.
- I also removed the front grill and chrome trim to make the job easier later on. This only requires removing the phillips trim screws, then the screws holding on the front grill.

21. Remove four (10mm) bolts holding the fan and fan clutch assembly.
- Remove fan and clutch assembly
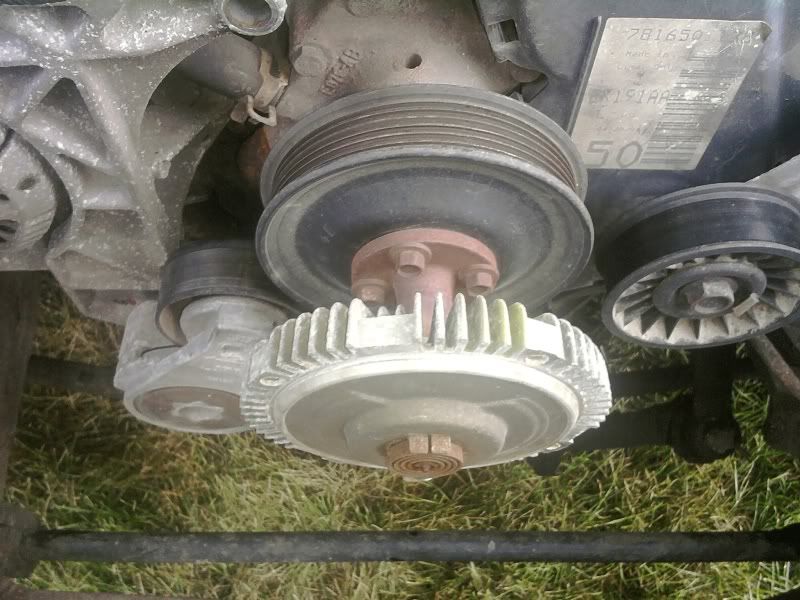
22. Remove four (10mm) bolts holding the water pump pulley.
- I used a screwdriver between one of the bolt heads and the middle shaft as leverage as I was loosening the bolts with an open end 10mm wrench
- Remove water pump pulley and shaft.

Remove the two hoses going into the water pump.
Remove three bolts securing water pump to motor and remove old pump
23. Whenever you get tired of wrenching, or there are too many mosquitoes out to continue, take your throttle body and intake manifold inside and begin the next step.
24. Remove the electronics from the throttle body (two phillips screws and two mounting studs (idk the metric size, all I had was SAE in my basement.. They're small though).
- Remove any gasket material that is left over from the IAC, TPS, throttle body gasket, etc.
- This will be messy, so pick a good place to do it. I did it in a shower we never use. Make sure you have somewhere that is properly ventilated with no open flames or bulbs! Do not breathe the fumes!!!
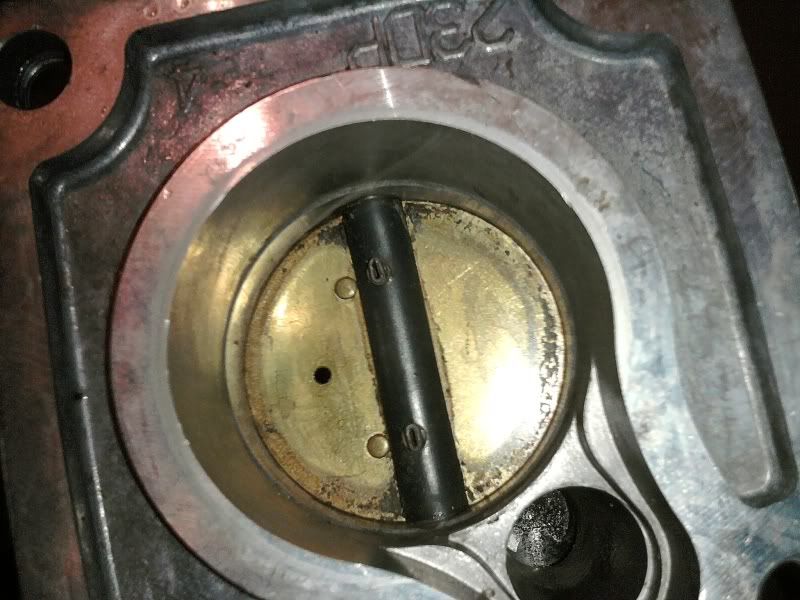
Shake up one of your cans of carb cleaner and thoroughly spray out the throttle body (all passages, the throttle plate, (I did everything except the EGR, because I hope that clogs haha). Use paper towel to help with this process. It's easier to wipe away carbon while it's still wet with cleaner (this stuff dries pretty fast).
Once the throttle body is cleaned to your satisfaction, move on to the next step.

25. Do the same as step 25 (there are no electronics to remove) on the upper intake manifold. If you have enough carb cleaner, you should be able to get the inside of this squeaky clean! (I ran out just shy of getting this as clean as I wanted - between steps 24 and 25 I used 30oz of carb cleaner).
Wipe everything down to get as much carbon out as you can, then move on to the next step.
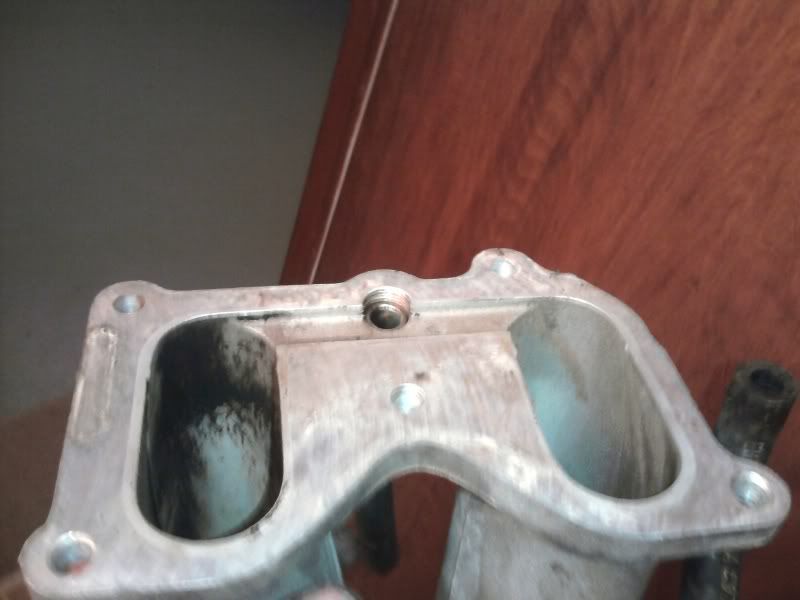
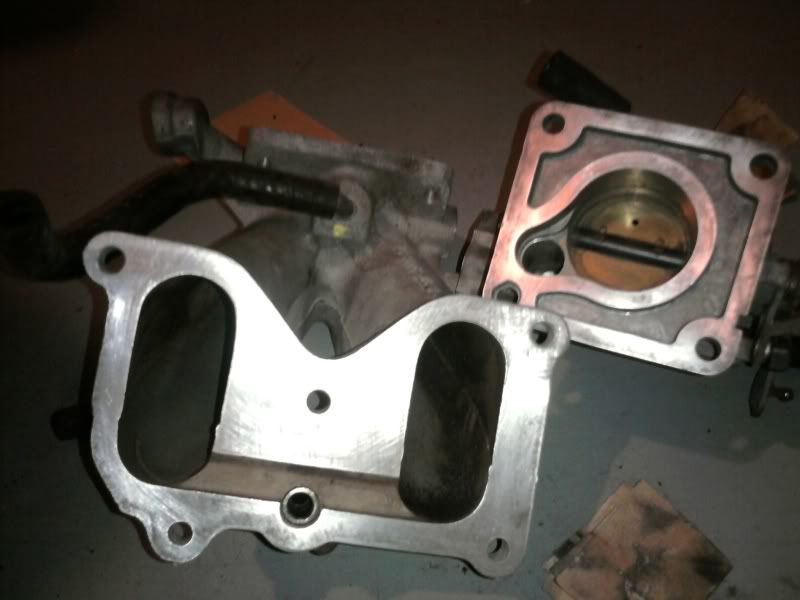
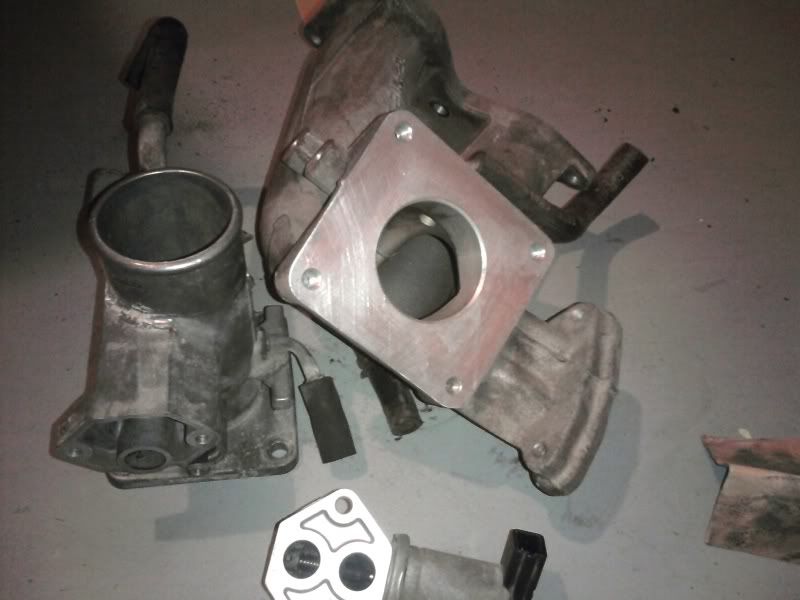
26. In this step we are going to be cleaning the mating surfaces of the throttle body and upper intake manifold. IMHO, this is vital to a proper seal with new gaskets.
I used some fine grit sandpaper and cleaned up every mating surface on both the upper intake manifold and the throttle body.
This includes:
IAC
TPS
Throttle body mounting surface (on manifold and TB)
Mating area of the upper manifold to the lower manifold.
Just make sure you remove all old gasket material and have a smooth surface for your new gaskets to seal against.
Blow off the inside and outside of the parts with compressed air, or your lungs, but make sure you are wearing safety glasses as these are very fine particles of metal and sandpaper that will be blowing everywhere.
Make sure you clean up the surfaces that you need to on the sensors you removed as well before re-installation of new gaskets!!!
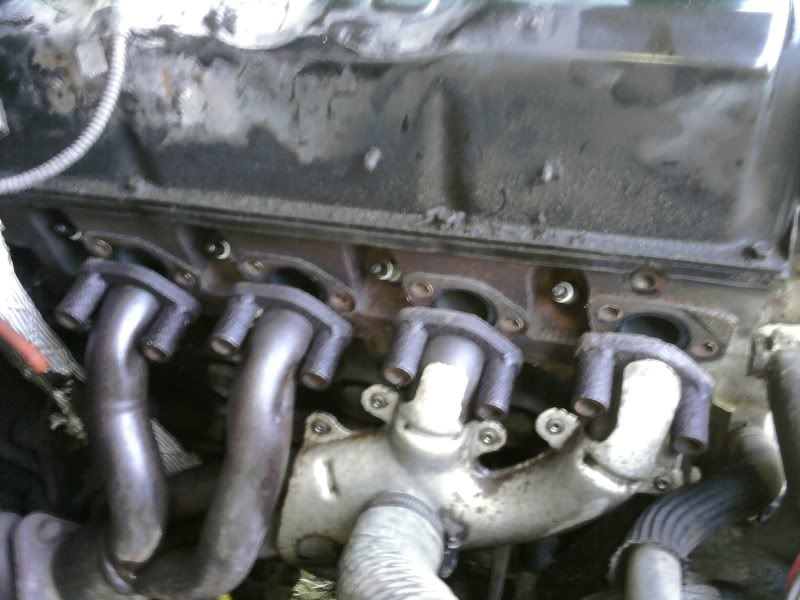
27. Remove exhaust manifold bolts that are securing the manifold to the head.