So here it is, my long awaited prototype for the OHC LED panel mod.
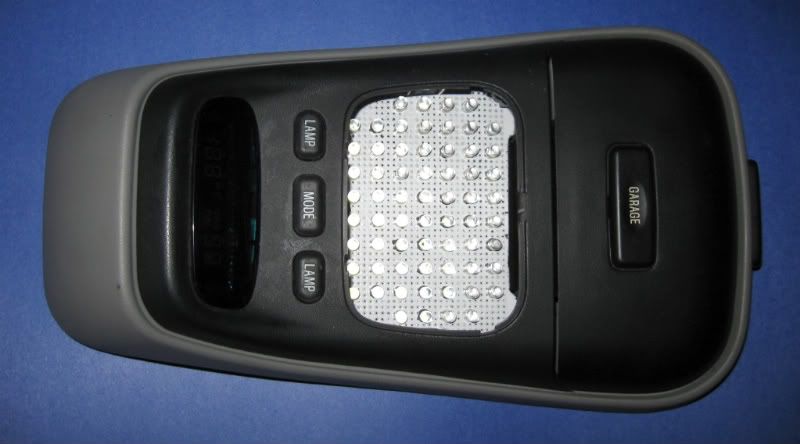
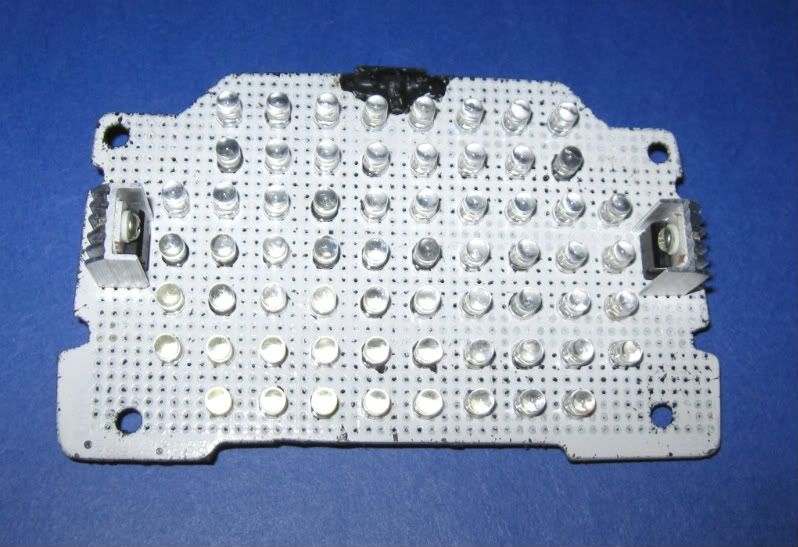
This bad boy has 64 5mm super bright LED's.
NOTE: I've done a slight re-design & I'm now using 56 leds.
There are 2 separate circuits so that both of the LAMP buttons will function as normally.
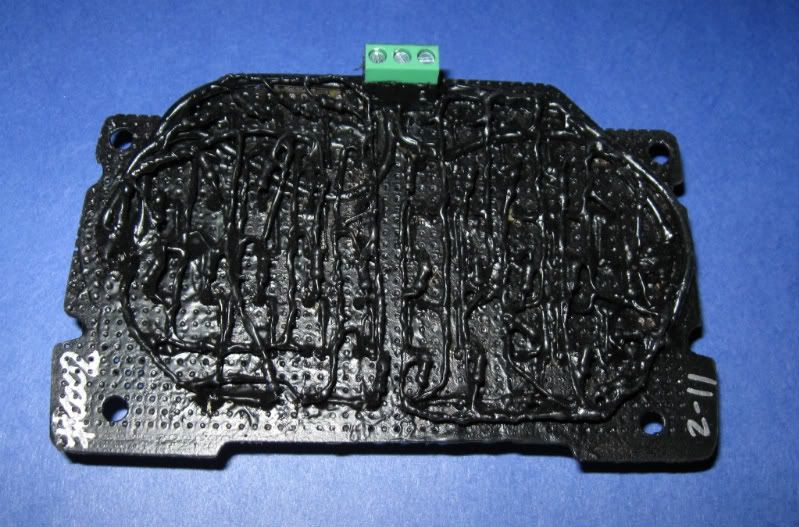
Each circuit has it's own voltage regulator so the panels will receive a regulated 12v even if your vehicle puts out 14v or more.
After some testing, I believe that the OHC's are configured so that both sides light up with the Dome Lights (door open) and function when the doors are closed by the buttons or by rolling up the headlight dimmer switch.
Unfortunately, I haven't installed my OHC yet but I know there are a ton of folks who have & I'm sure you'd all like more light out of your OHC's.
Installing this is pretty simple, but you WILL need to remove your OHC from the truck to gain access to the "guts" side to mount the LED panel.
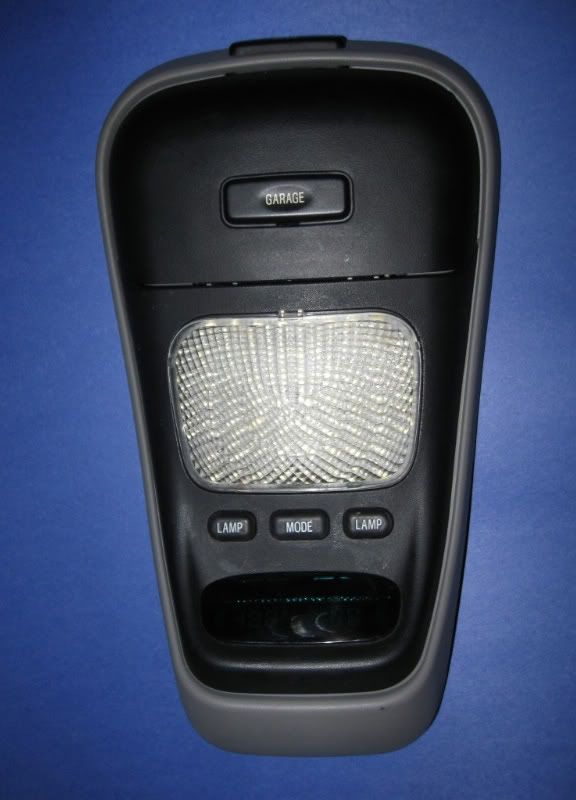
I designed the panel to be held in place between the white tabs of the electronics module and by the 2 rear mounting screws.
-Unscrew the 2 mounting screws in back & the 2 screws holding the electronics module in place.
-Remove the old bulb holders/reflectors, you won't need them.
-Slide the LED panel between the white tabs of the module, replace 2 of the screws with the longer screws included in my kit (the OEM torx screws will be too short for the rear mounting holes) & install the module screws.
-Cut the 3 wires going to the OEM bulb holders/reflectors, strip & insert wires into the labeled screw terminal & tighten down.
-Plug the connector back into the OHC & test the functions & you're ready to install the OHC back in the truck.
I've also tested the OHC with the mounting bracket fully inserted to ensure that none of the electronics come into contact with any bare metal parts. I coat the entire back side of the panels with several layers of liquid tape to further reduce the chance of an electrical short.
I'm currently working on a full install manual with pics (may need to email the manual or burn it on a CD) although it's pretty easy to install.
Since I don't have my OHC installed, I really can't show any "working" pics, but after bench testing it in the garage I can tell VERY bright.
It should take less than 20 minutes to install & most of that will be spent removing the OHC from the truck.
The one shown is one of my prototypes, so disregard the markings or rough cuts as I'm working on the design.
PRICING:
$25.00 plus shipping
(as of 2-17-11: $5.20 Flat Rate box, $4.95 Flat Rate envelope, $$ calculated based on zip code for 1st Class mail)
PayPal is good for me.
OHC not included

My prototype is currently awaiting installation in a well known member's vehicle & hopefully I can convince him to post up some night time pics when he's finished.
I have a couple more of these currently in the works & they should be finished in a few days.