OK guys, here is your DIY for the belt replacement, I'll put the pictures up later on tonight when I can get them all taken:
Step 1: Purchase your replacement serpentine belt and remove it from the package, you'll notice one side has "teeth" and the other side is smooth. Set it aside for now as you'll need it later on. Cost of the belt should be around $40.
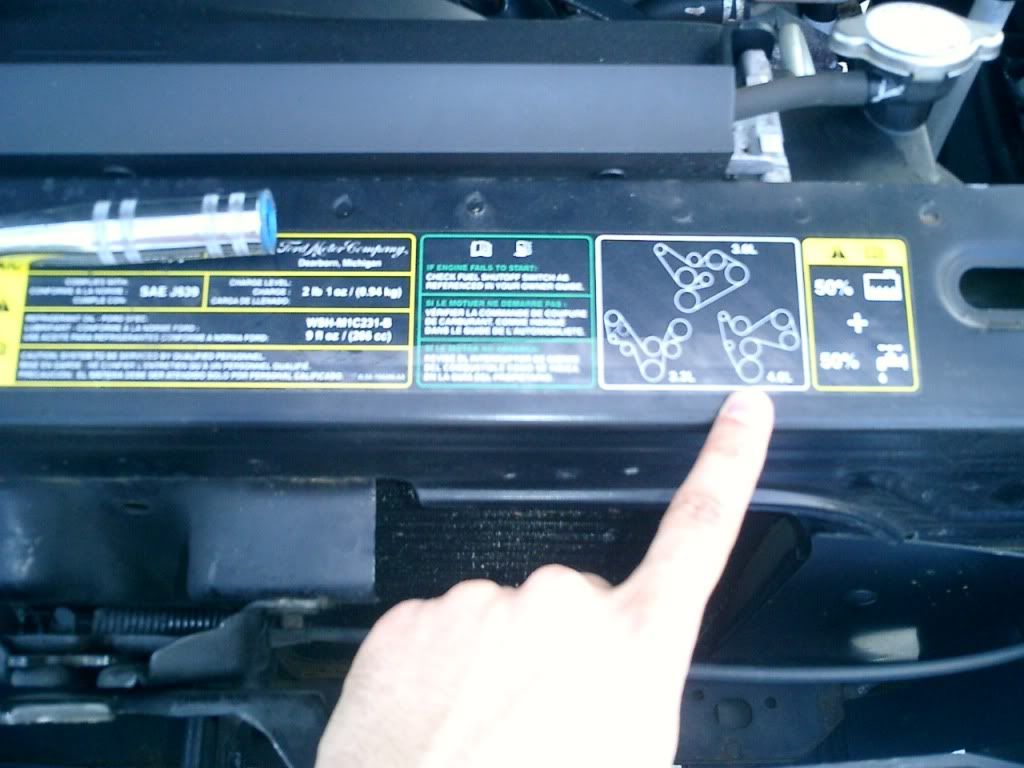
Step 2: Open your hood and take a look inside, there should be a serpentine belt diagram for each engine type plastered on the inside of the frame. Take a minute to determine based on your engine type which diagram you'll be referring to when putting the belt back on.
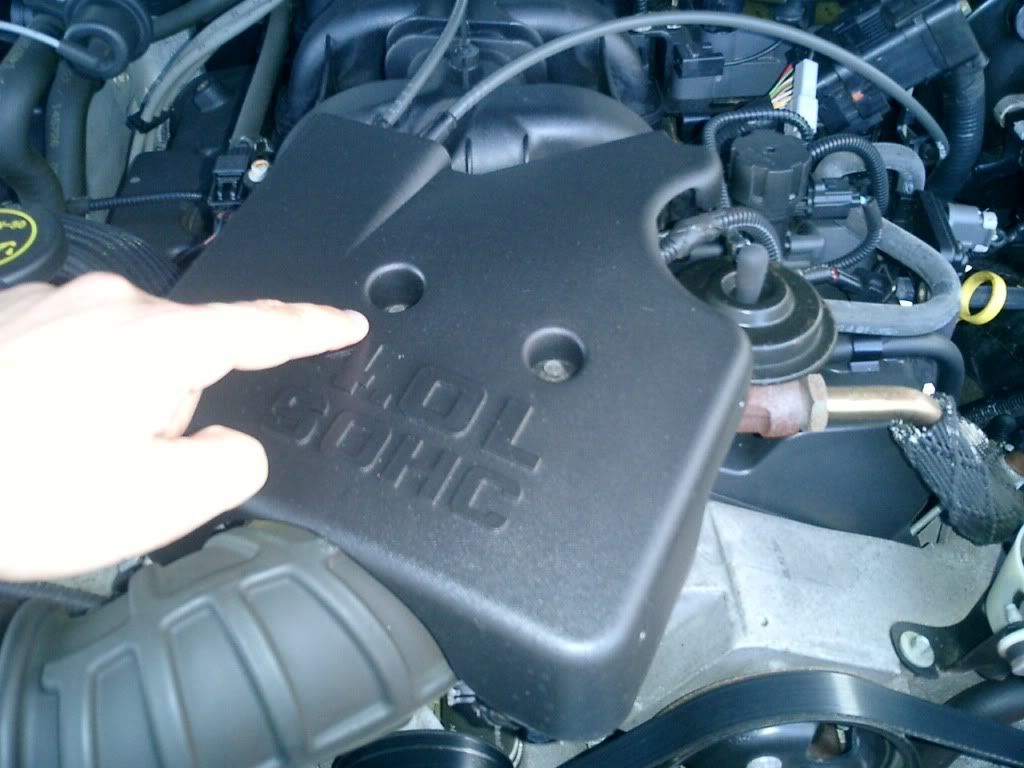
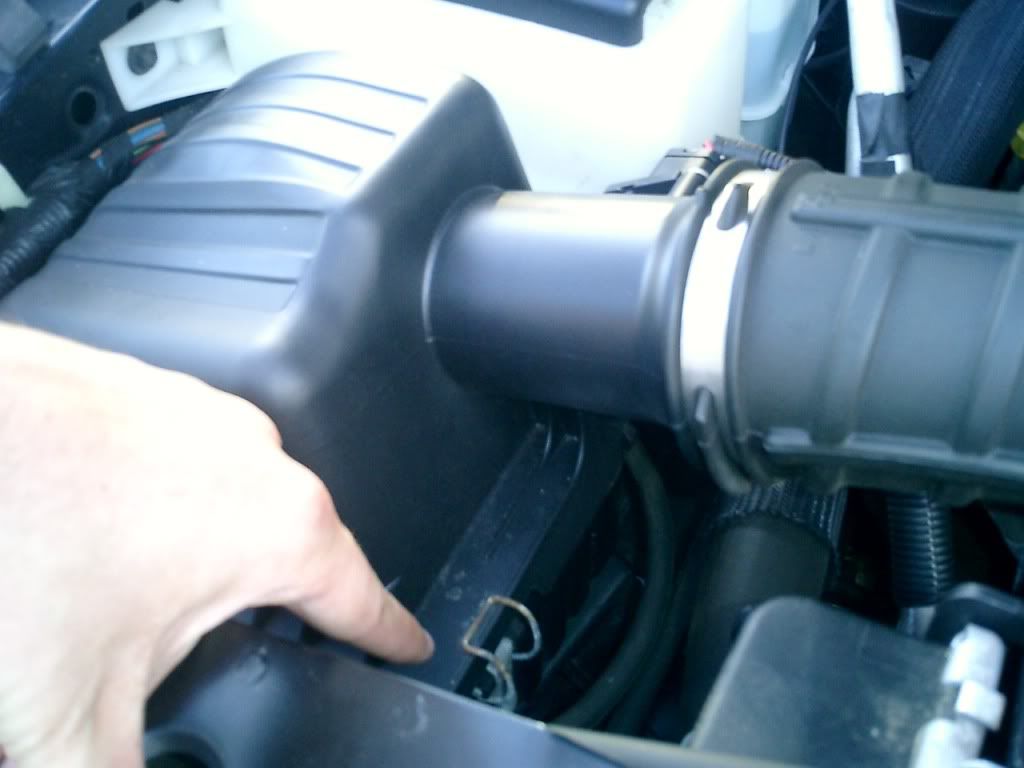
Step 3: Unbolt the screws holding the plastic throttle body cover in place. (on the 4.0 it's covered). Once off remove the factory air hose for the intake and then Unlatch the factory air box. Tip the airbox assembly and hose up and out of the way to give you clearance to the belt and pullies below.
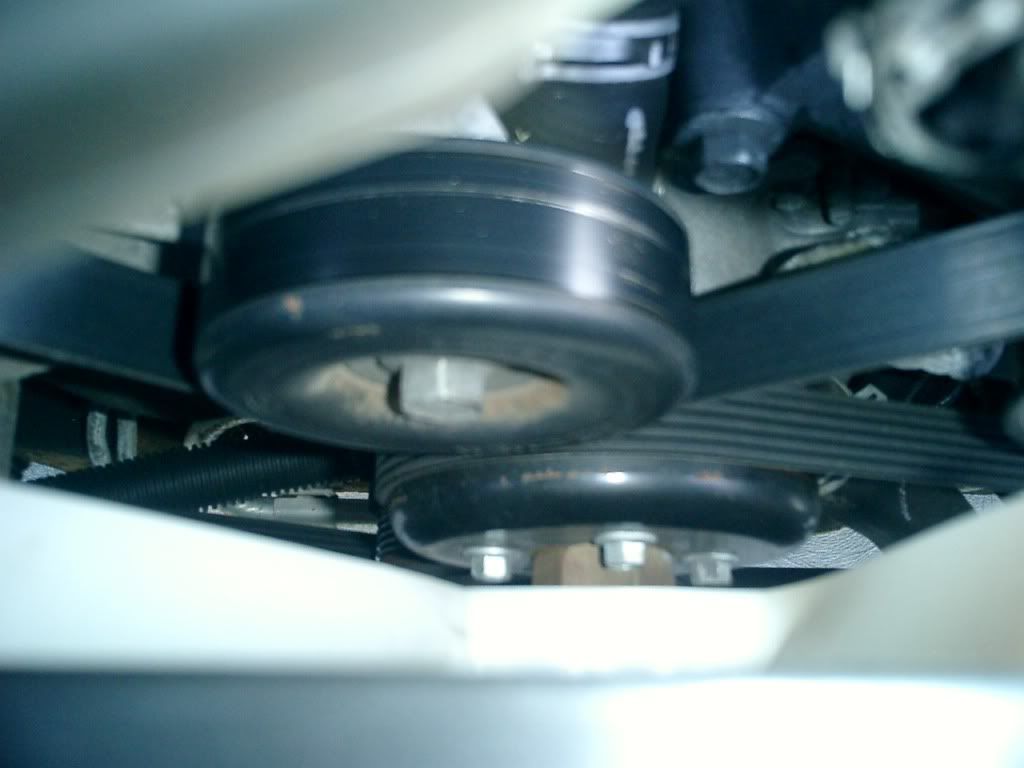
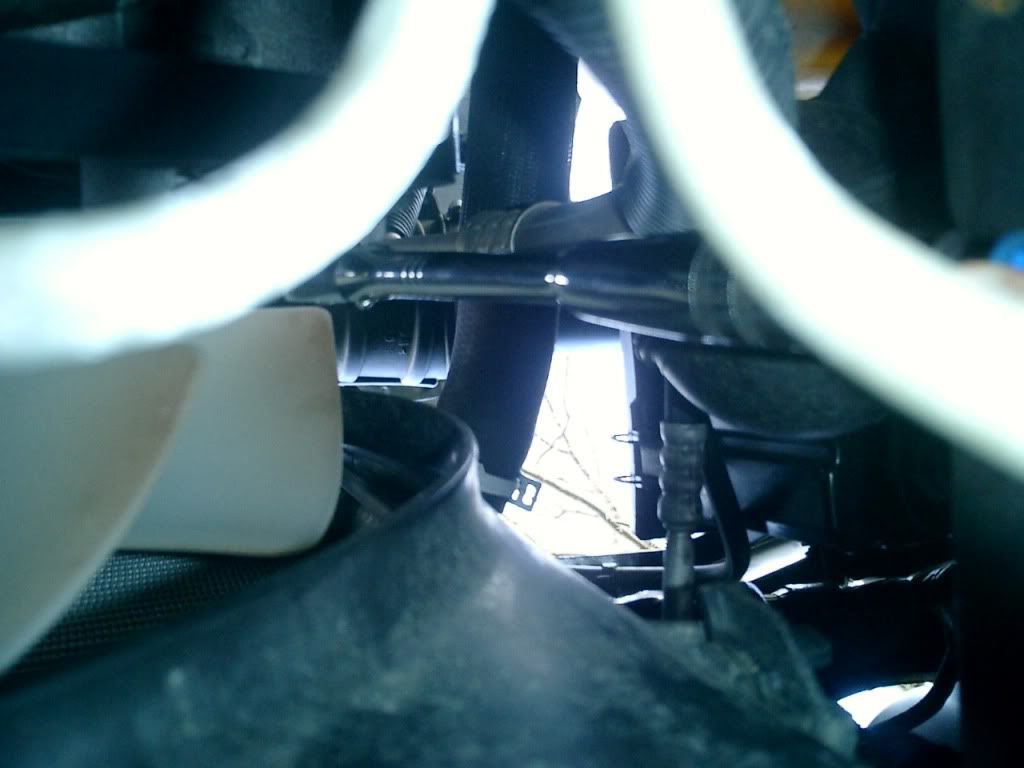
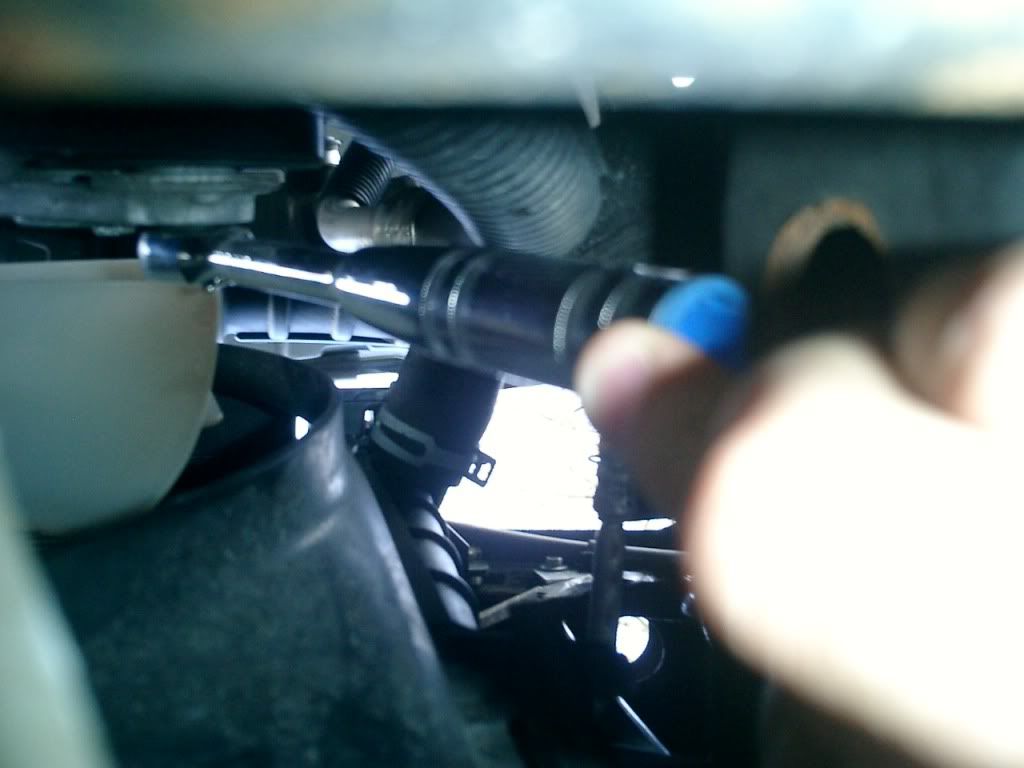
Step 4: Take your 3/8th drive wratchet.... get under the truck and position the drive part of the wratchet into the tensioner square. Push/pull down on the wratchet to release the tension on the belt, while doing this slide the belt off of the tensioner. Since you're using your wratchet only to work the tensioner you can now allow it to come back and rest the handle up against the frame rail and keep the tensioner from going all the way up.
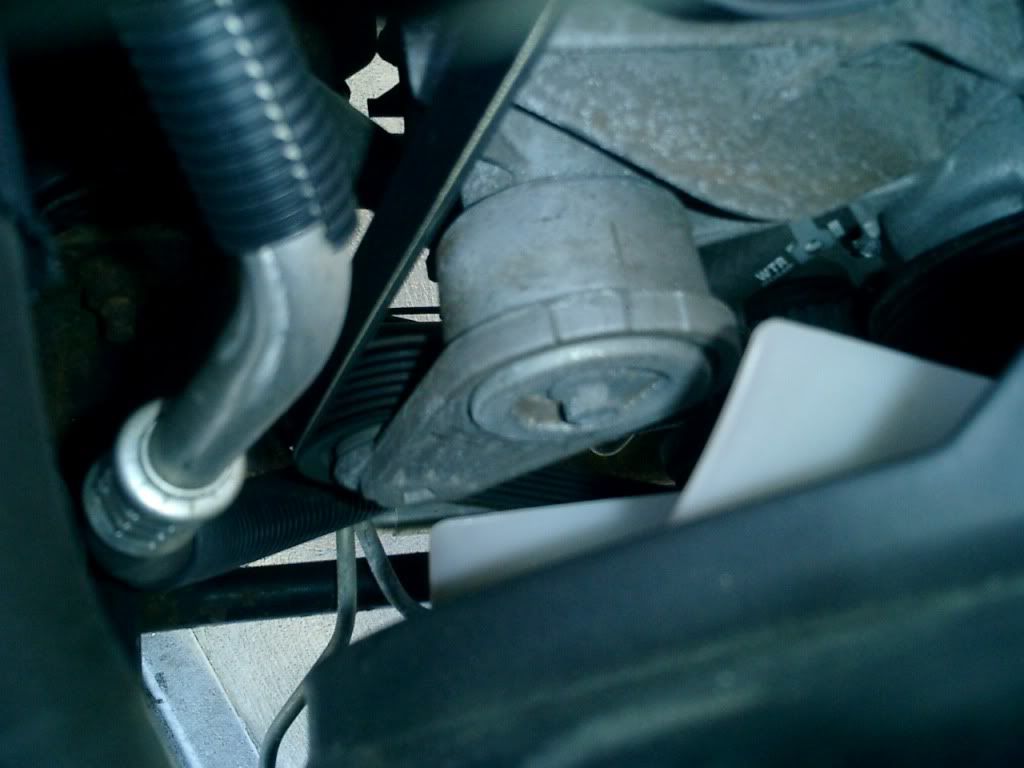
Step 5: Pull the old belt out of the engine. Inspect at this time the pullies and make sure they are all looking good and not too rusty, spray and clean them up at this time. (you want to do this before putting the belt back on so that you don't get any degreaser or wd-40 on the new belt)... wipe them all clean and dry and get ready to reassemble.
Step 6: (You may need the help of a friend for this one, as it is kinda tricky to hold the belt in place as you manuver it around the pullies)... reposition your belt around the pullies as it shows in the diagram that you looked at back in step 2. The belt will not fit around all of the pullies just yet as the tensioner will have to be pushed back down to allow enough slack to get around the last pully. Once you have placed the belt around all of the pullies, release the tensioner. (it'll now pull tightly on the new belt locking it in place.)
Step 7: Look at each of the pullies and make sure the tensioner belt is properly in place on them. Now re-assemble your air intake and air box that you swung out of the way earlier. Give everything one more once-over to verify that you put everything back together and fire it up!